Deploy A Hyperlane Bridge With Owl Dashboard
Hyperlane Warp Route enable you to have a permissionless, interchain token bridge. By using the Owl Dashboard, you can use our ERC4337 Smart Wallets, that cover transaction fees via a paymaster.
Hyperlane enables you to create various types of token bridges with Warp Routes, namely:
- Native to Native: transfer native tokens between chains that both use their own native tokens.
- Native to Synthetic: create a synthetic representation of a native token on another chain.
- Collateral to Synthetic: create synthetic tokens based on collateralized ERC20 tokens on another chain.
For more details on these bridge types, see Warp Routes: Example Usage (opens in a new tab).
In this guide, you will deploy a Hyperlane Warp Route to bridge the Sepolia native token to a synthetic token on the Polygon Amoy chain. This synthetic token will be minted when bridging from Sepolia, and will be burned when bridging back to Sepolia.
Prerequisites
- Have MetaMask, and some native token on the first chain that you will deploy to. In this tutorial, we use Sepolia and, but you could use any other supported testnet. Note this is only necessary so that you can test bridging a token after deploying it.
- Ideally, have some native token on the second chain that you will deploy to to test bridging back your token.
Steps
Go To The Deploy Warp Route UI
- Go to the Owl Dashboard (opens in a new tab) and create or select a project that will manage your warp route. Note that the dashboard creates a default project for you.
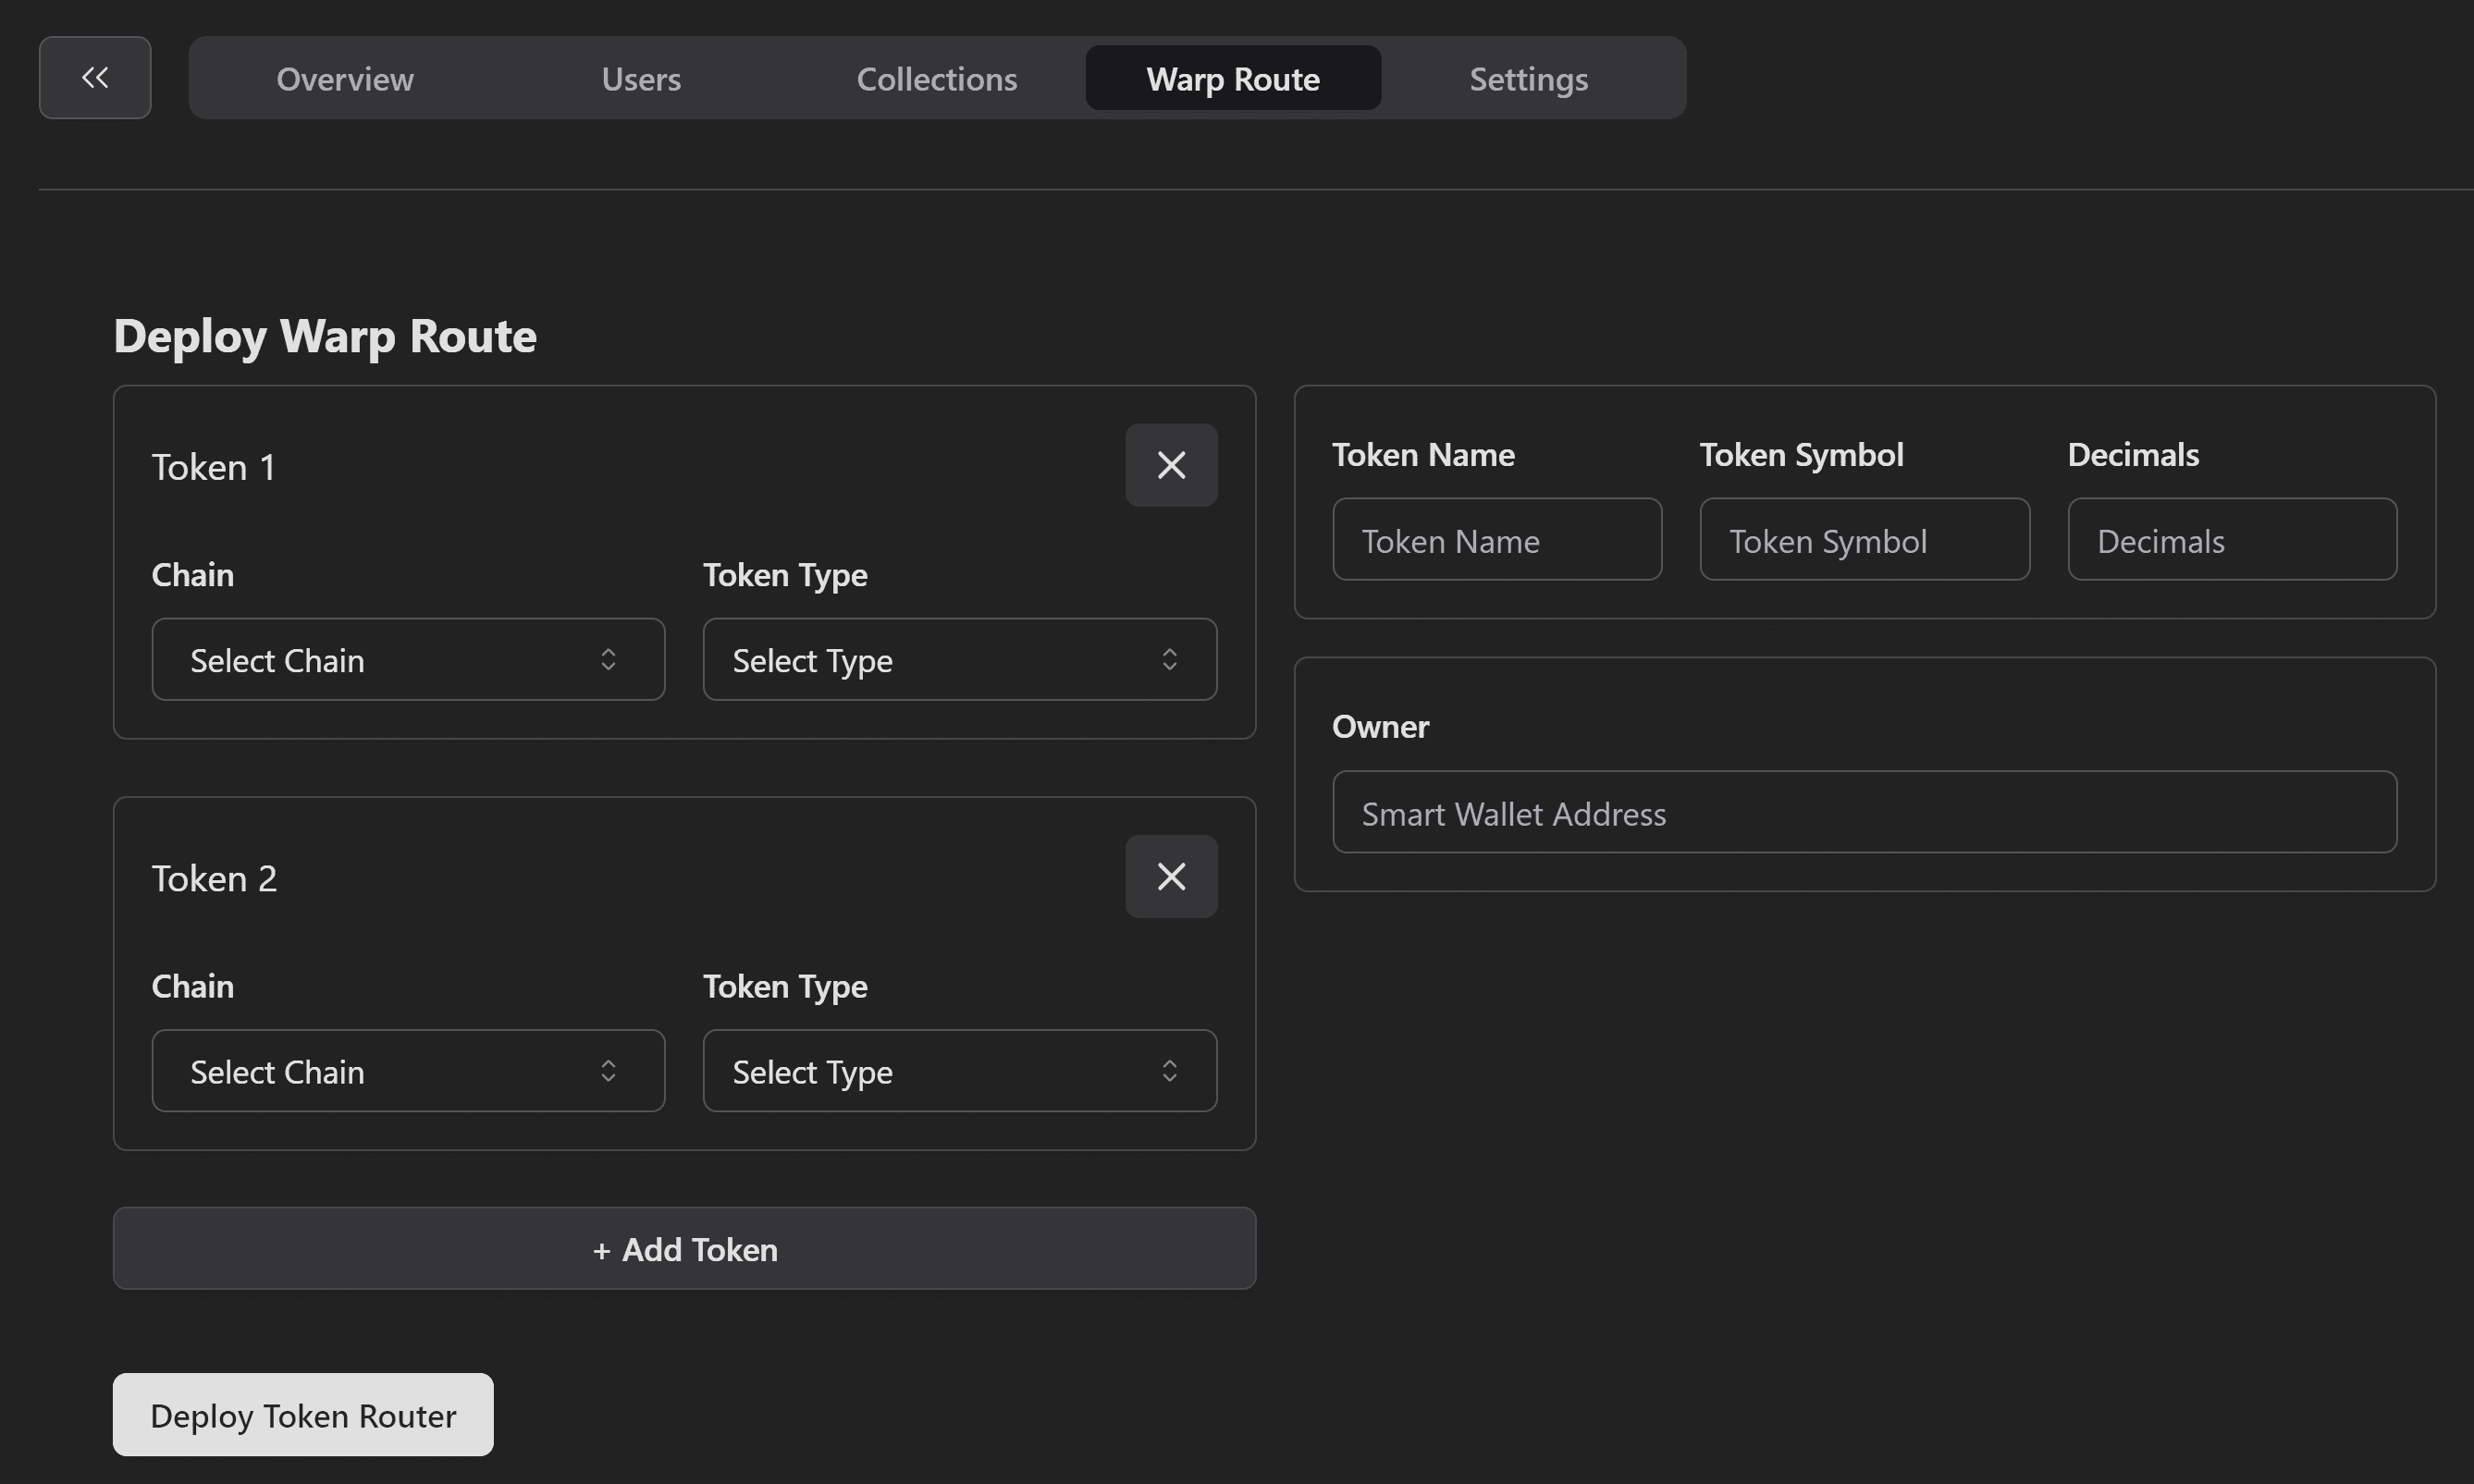
- On the project page, select the "Warp Route" tab. You should then see the "Deploy Warp Route" page.
Select Bridge Chains And Tokens
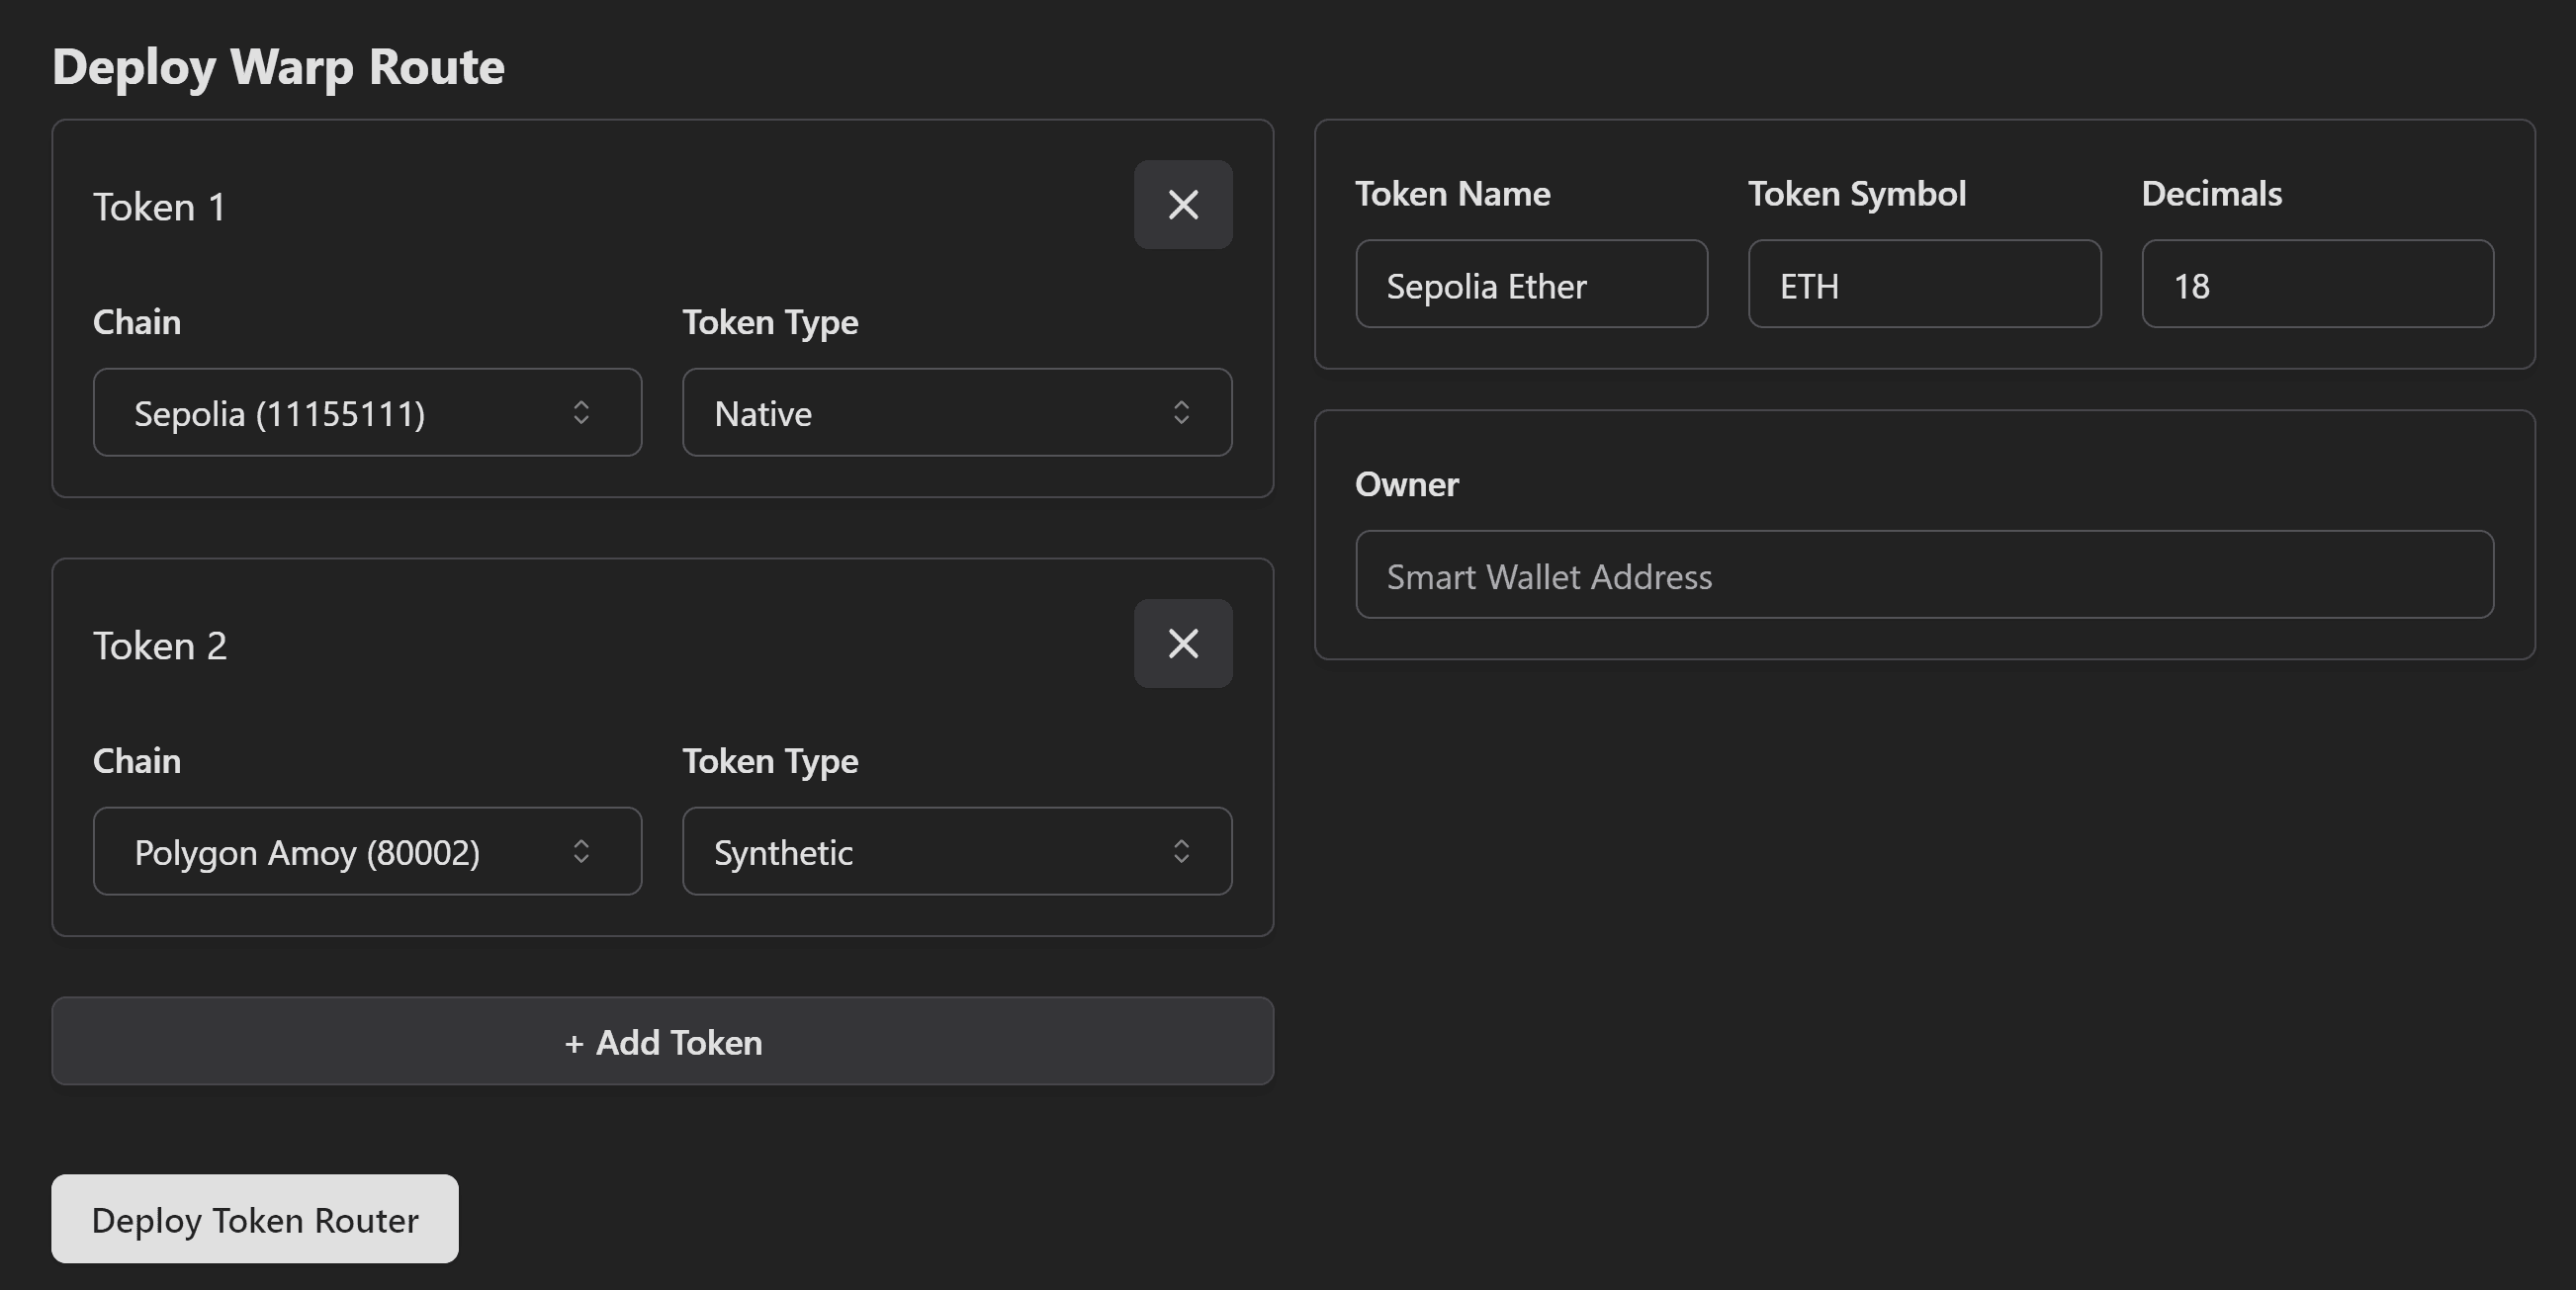
- In the "Token 1" box, select "Sepolia" in the chains and "Native" for the token type. Notice that the token metadata on the right gets autocompleted with the Sepolia native token's name, symbol and decimals.
- In the "Token 2" box, select "Polygon Amoy" in the chains and "Synthetic" for the token type. Note that the synthetic token will use the token metadata defined to the right of the token lists.
- (Optionally) Click on "+ Add Token" to deploy to more chains.
- (Optionally) Set the token metadata to use a custom name and symbol. We recommend leaving the decimals as is.
- (Optionally) Set the bridge owner. By default, the owner will your project's smart wallet.
Deploy Bridge
Click on "Deploy Token Router". You should now see a table under the button. It lists the chains, token router (bridge) addresses and the deployment status. Once all of the chains are confirmed, the bridge is ready!

Bridge Sepolia Ether
- Click on the "View on SuperBridge" button at the bottom of the deployment table. It should take you to a bridge app similar to this one (opens in a new tab).
Notice that the "from" chain is already set to the "Token 1" chain, and the "to" chain is already set to the "Token 2" chain.
Note that for this step, you will need some Sepolia Ether. You can for example use the Chainlink Faucet (opens in a new tab).
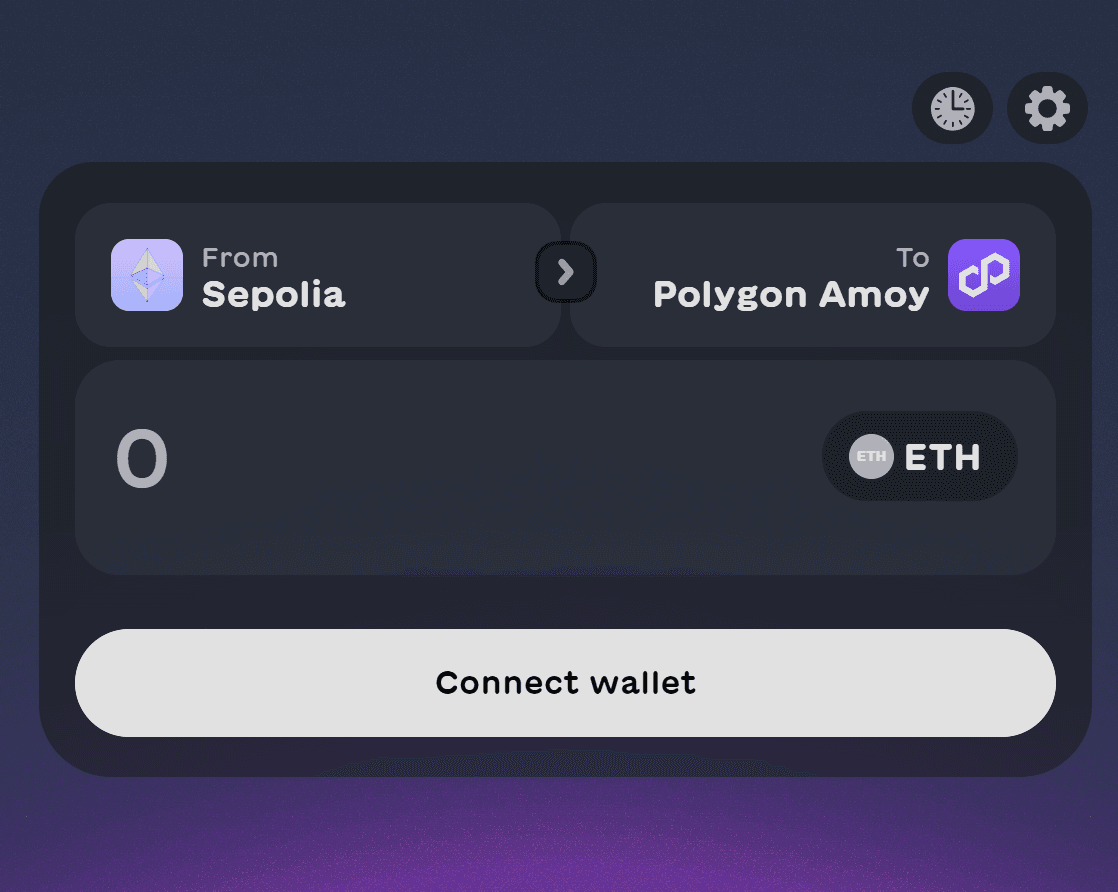
- Enter any amount, such as 0.0001 ETH, then click on "Connect wallet", and "Review bridge", and "Continue" twice.
Note that you should keep enough native token to cover transaction fees.
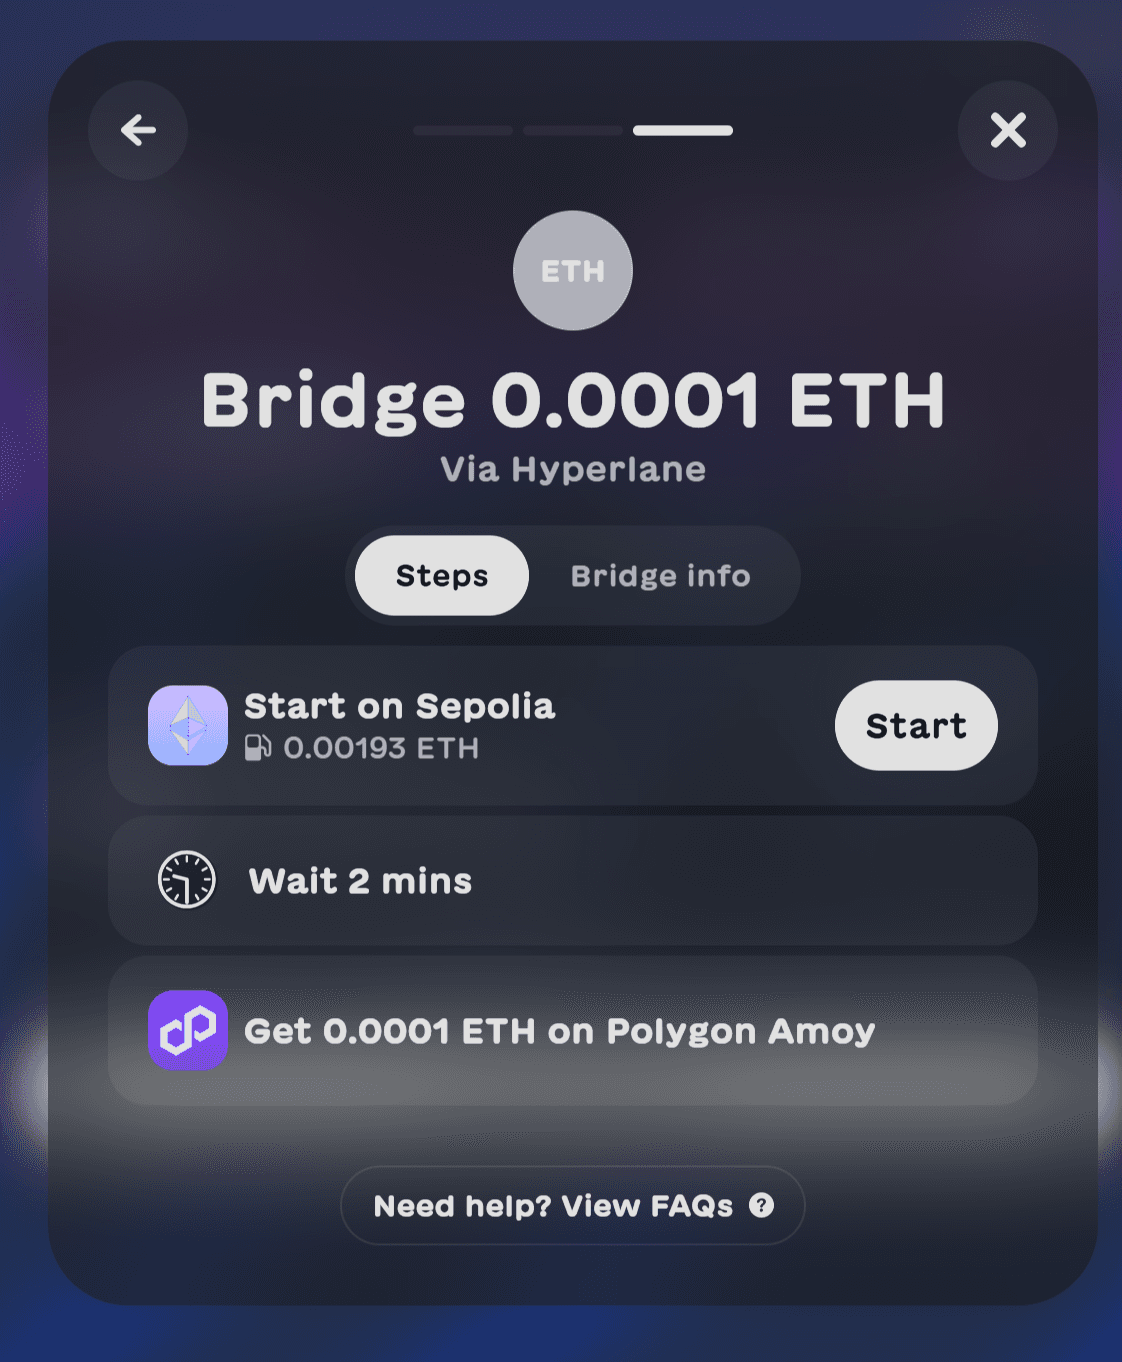
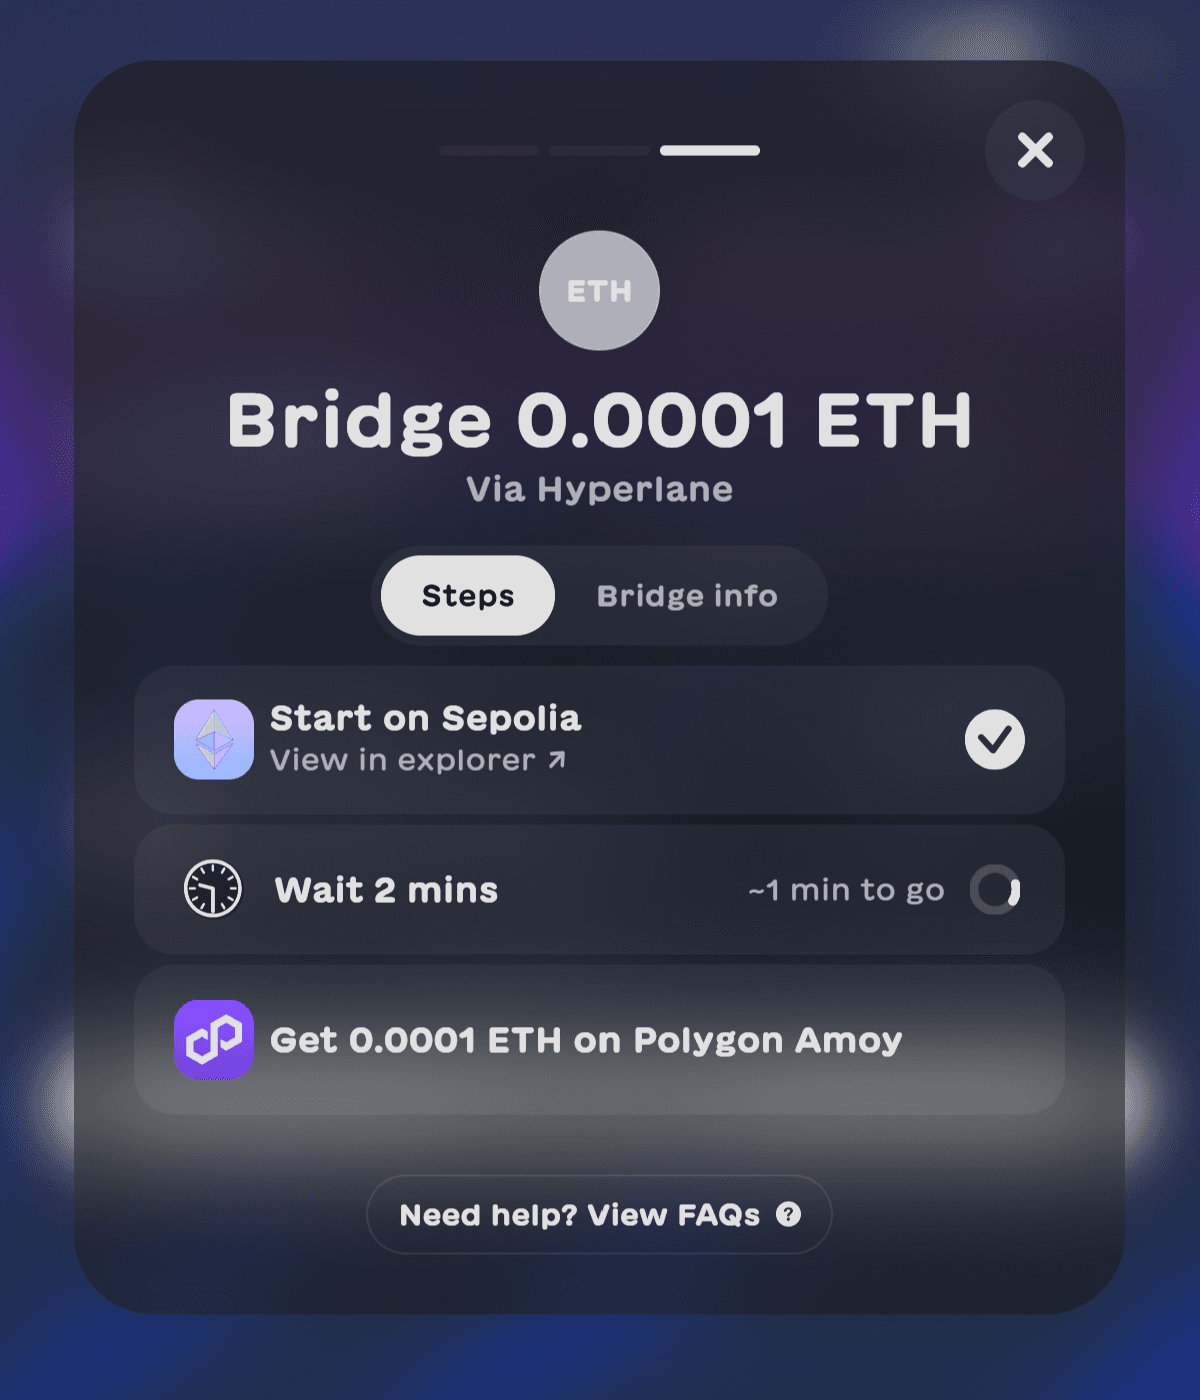
- Click on "Start", then approve the transaction in your wallet.
After a few seconds, you should be able to see a "View on explorer" link under the "from" chain. It should look like this (opens in a new tab).
View Bridging Message
From the block explorer, grab the transaction hash. Then, head to Hyperlane Explorer (opens in a new tab), and type in the transaction hash. Clicking on the first result should take you to a page like this (opens in a new tab):
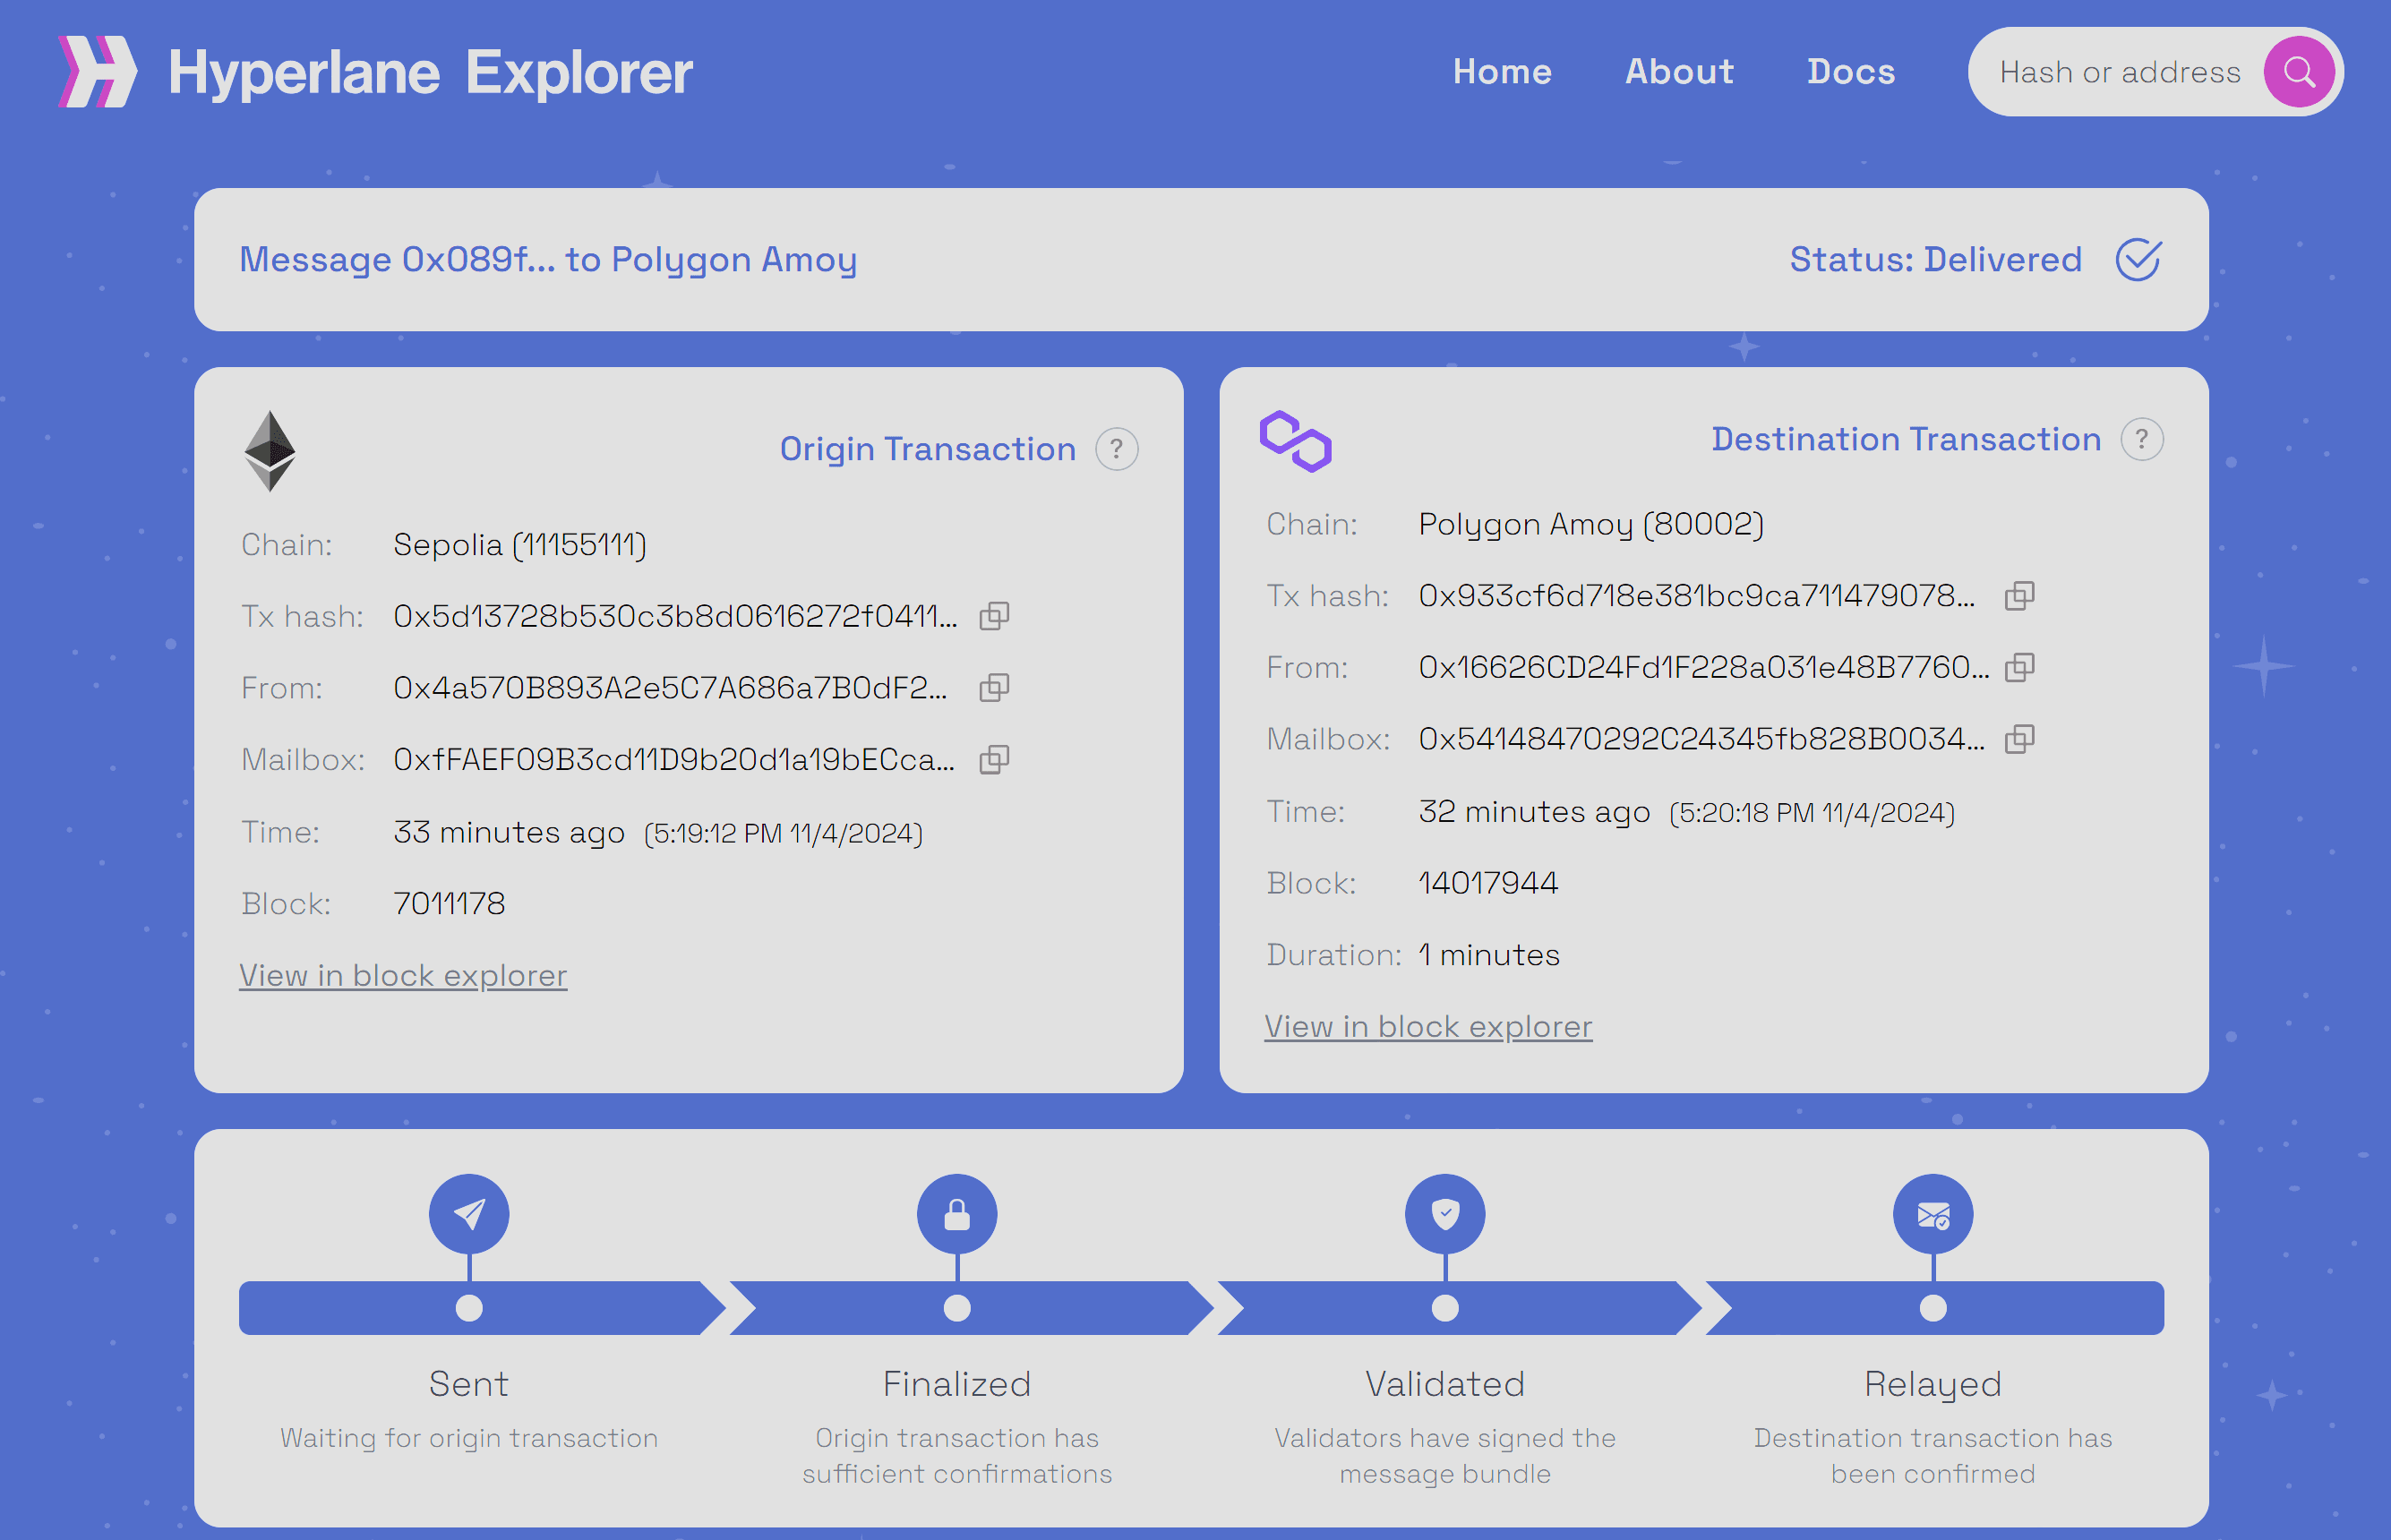
Notice that the status says: "Delivered", and that the timeline shows that the message has been relayed. The bridging succeeded!
You can also click on "View in block explorer" on the right-hand side to the transaction on Polygon Amoy. It should look like this (opens in a new tab):
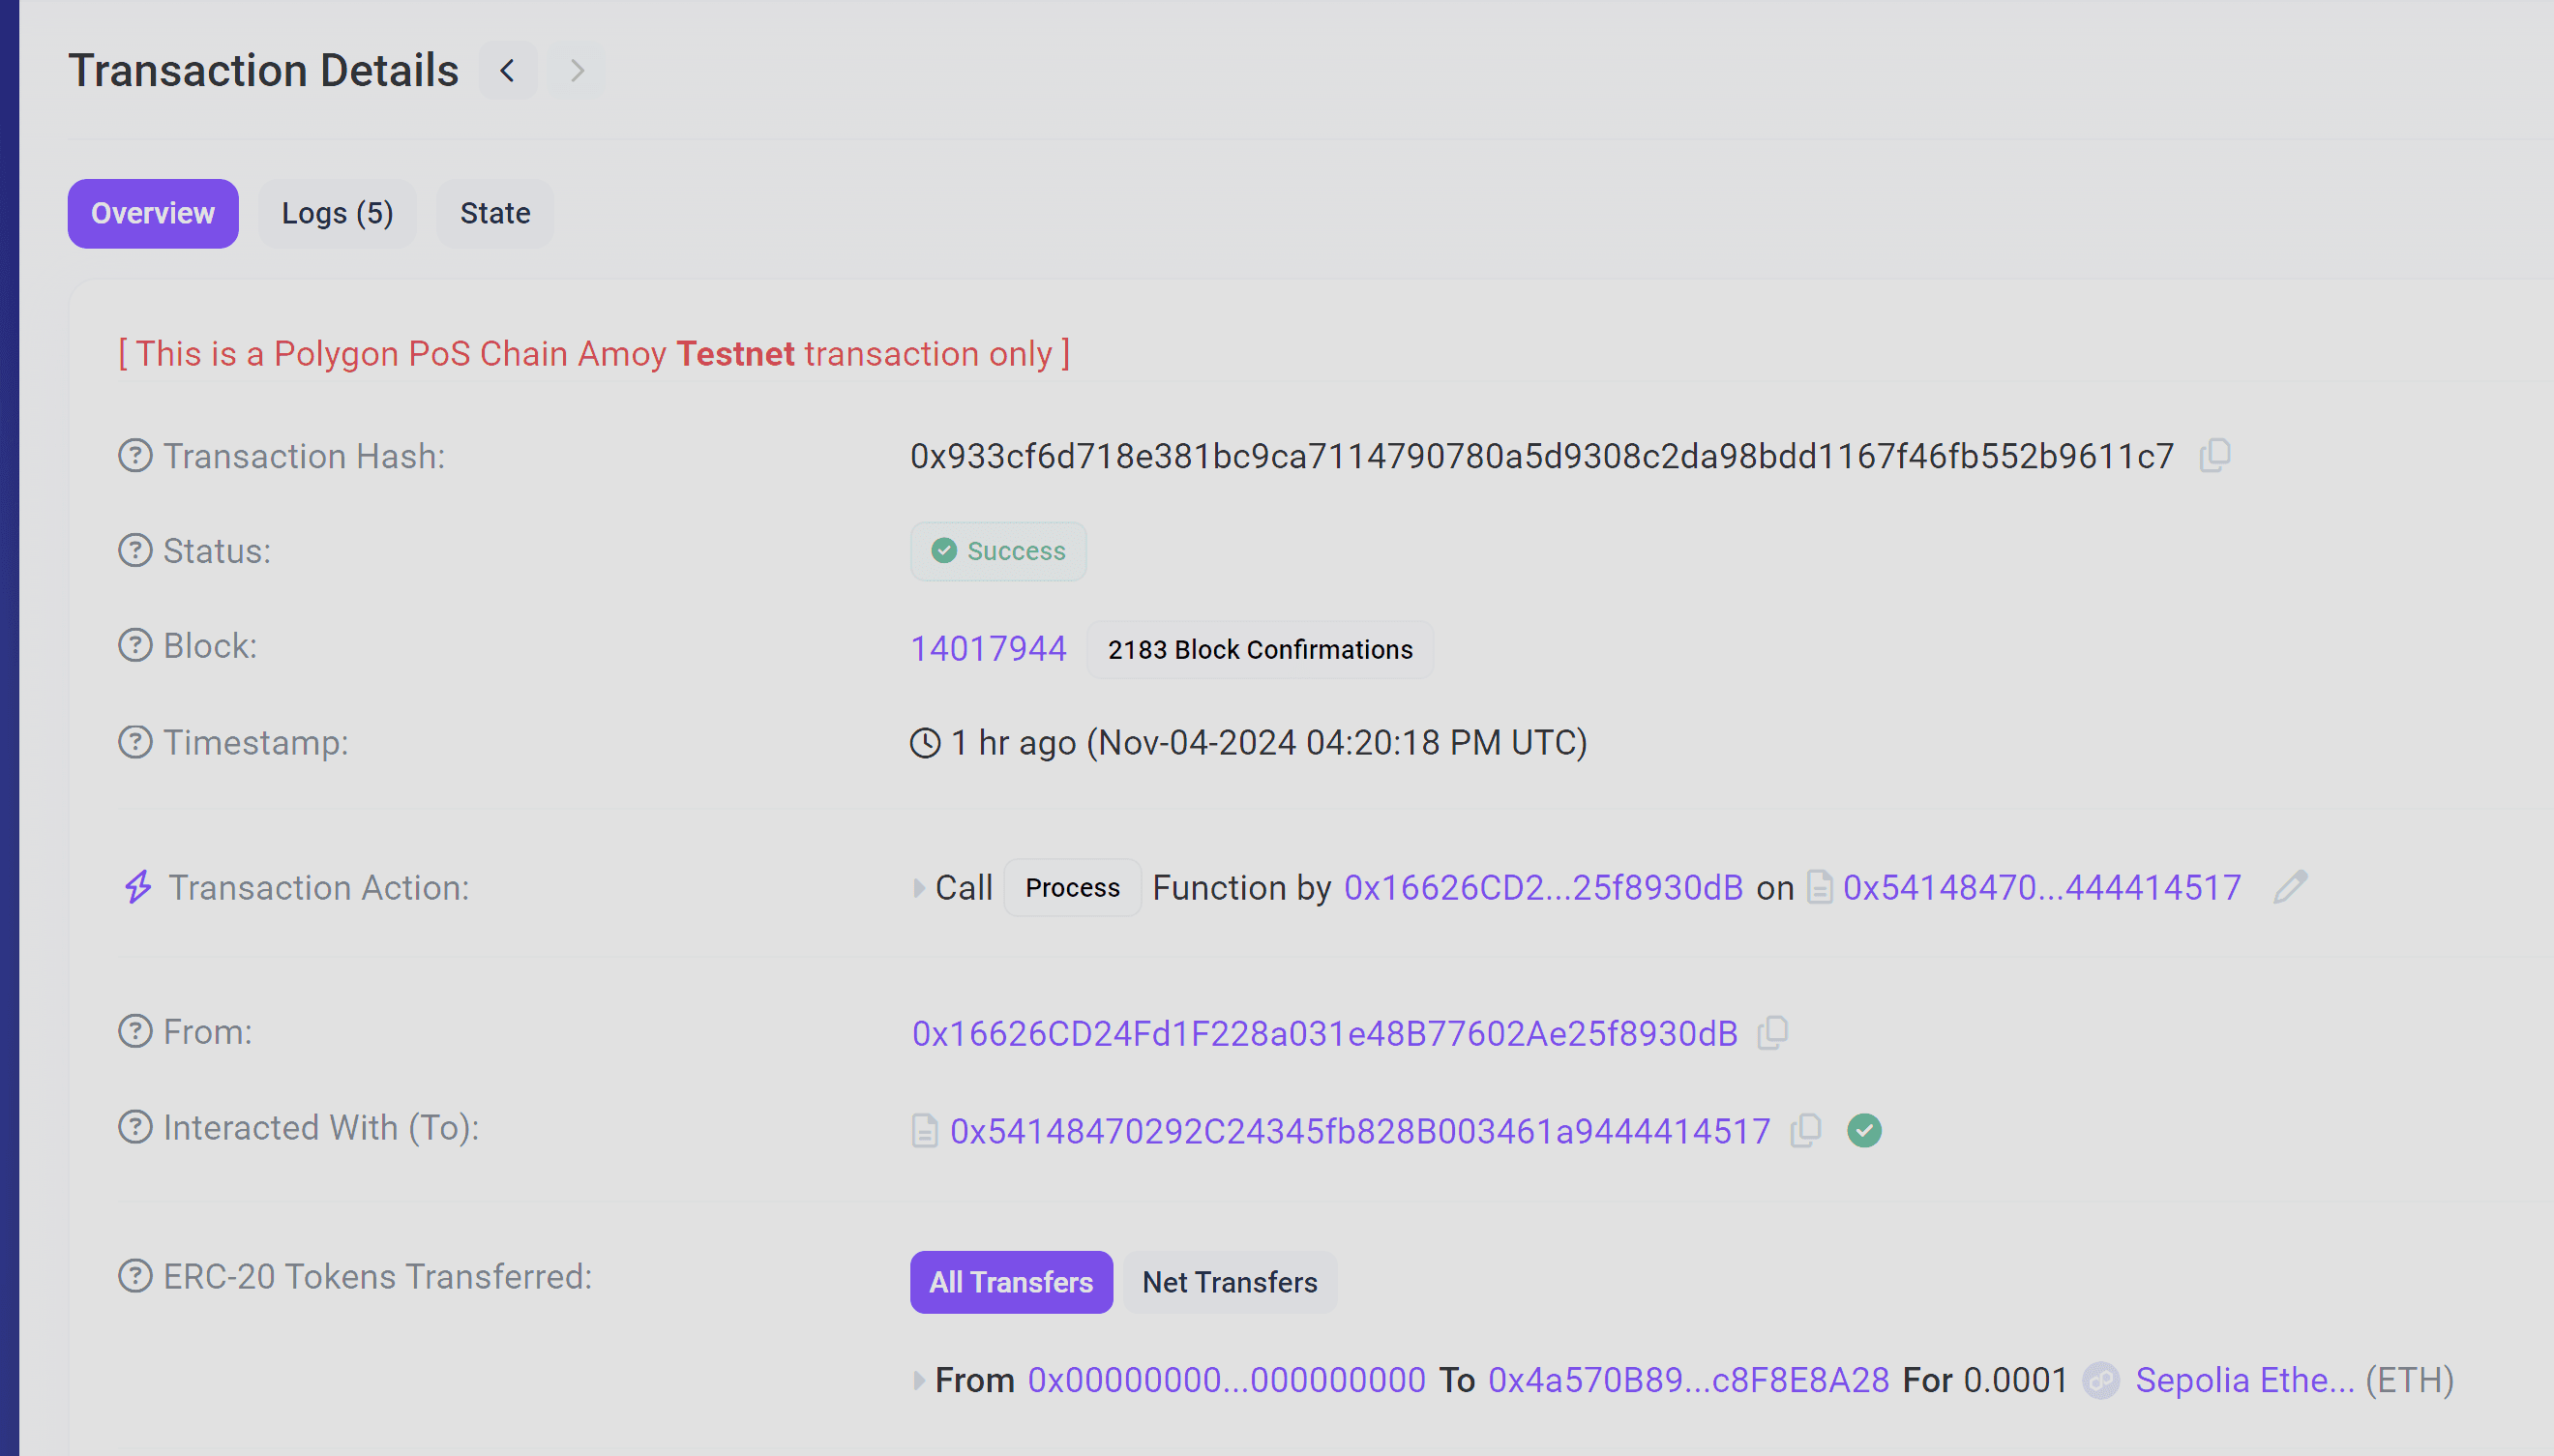
Notice that synthetic tokens were minted to your wallet address.
Further Steps
- Try to bridge back your synthetic token by switching the "from" and "to" chains in the bridge UI.
- Note that you will need to have native token on the second chain to run this transaction.
- You can try to deploy to as many chains as desired by clicking on "+ Add Token".
- Note that each time your click on "Deploy Token Router", new bridging contracts will be deployed. Make sure to decide the chains you want to support before deploying your warp routes.
- Deploy a warp route for an ERC20. To do so, select "Collateral" for your first chain, and specify the ERC20 address.