Deploy Your Custom Project
In this tutorial, we will create our custom project. This will allow you to create your own collectibles and to add your own users to mint collectibles to.
We recommend you to start by deploying a demo project to familiarize yourself with our dashboard (see: Deploy Your First Demo Project).
Steps
Select Your Team
From the dashboard homepage (opens in a new tab), select a team. You can also create a new team if needed.
This will take you to the team overview page.
Create A New Project
Click on the Create Project button near the top right of the page.

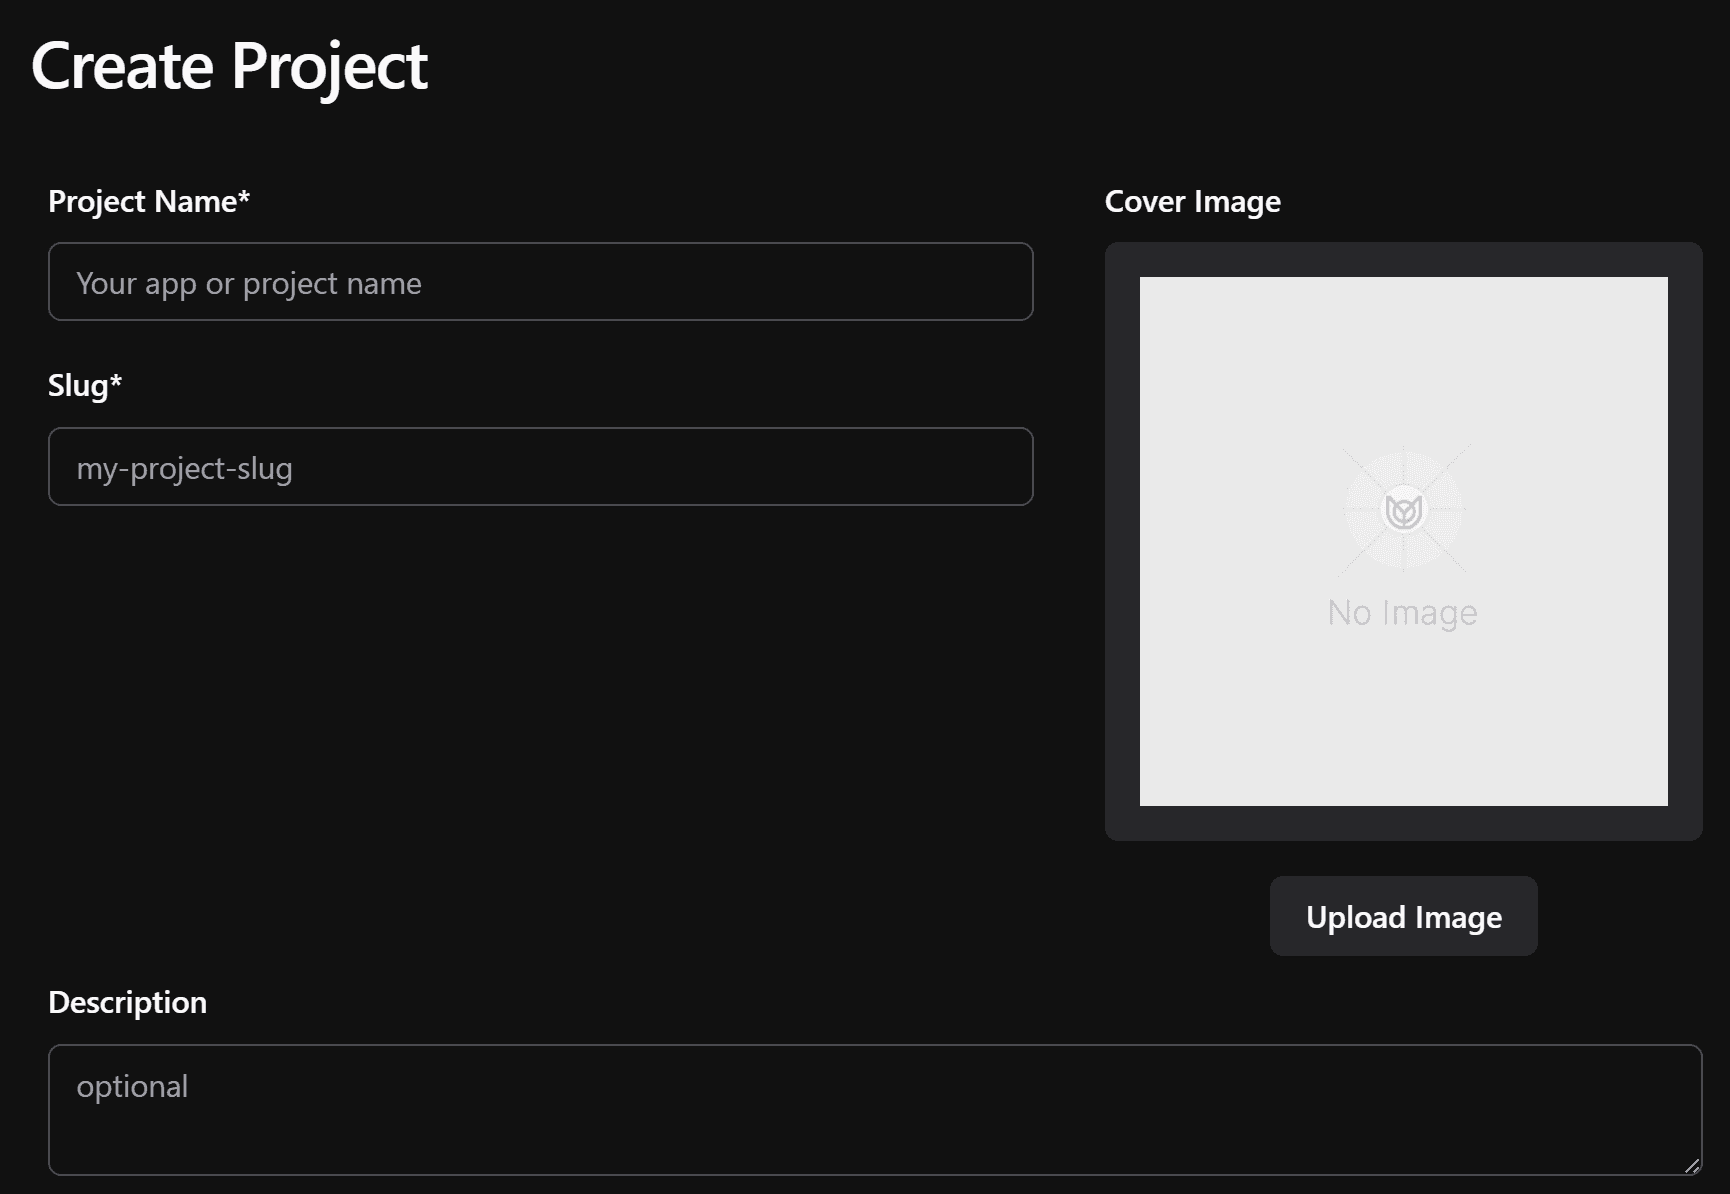
Fill Out Project Information
Fill out information about your new project, namely the name. Notice that there is also a "slug" that is suggested when you add a name. This slug uniquely identifies your project, and cannot be changed later. Choose it wisely.
Notice that you can also add a cover image for your project, and a description.
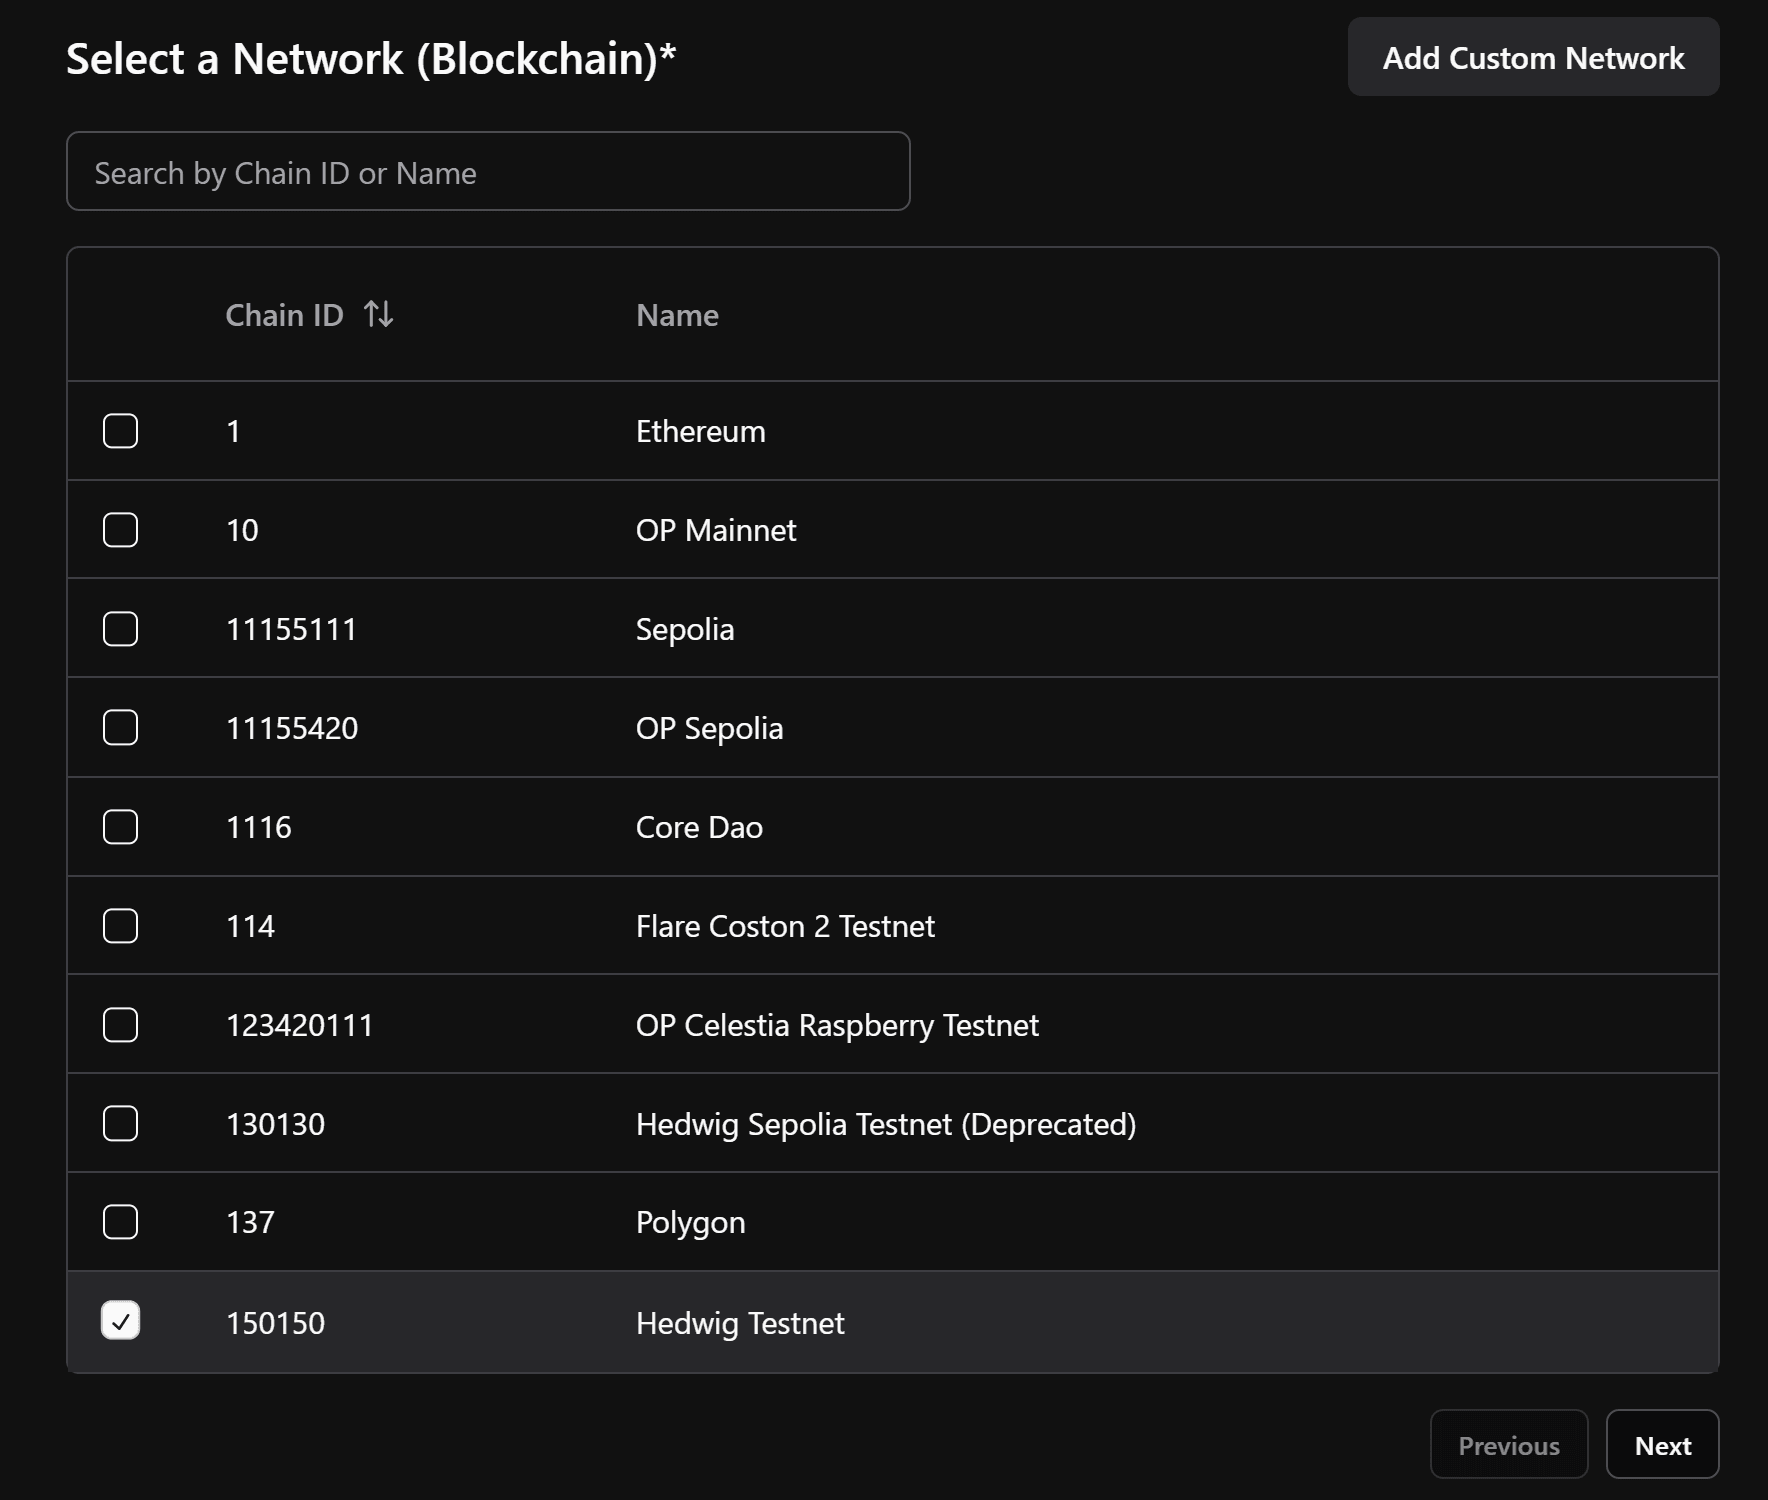
Select A Network
Under the project information, you will say a table of networks to choose from. This is the default blockchain that will be used for your project. We recommend using "Hedwig Testnet", our own test network. Select that network from the table, and click on Create to create your project.
Notice that you can add a custom network for your project if you want to.
And now you have it, your first custom project!