VeraBridge
VeraBridge is a no-code, cross-chain bridge deployment platform that allows you to seamlessly deploy multiple bridges across dozens of chains simultaneously.
Under the hood, VeraBridge leverages the Hyperlane (opens in a new tab) architecture, a robust and battle-tested solution that has facilitated over $3 billion in bridged value and supports more than 70 chains. For more details, explore the Hyperlane documentation (opens in a new tab).
VeraBridge offers a user-friendly interface that abstracts the technical complexities of deploying and managing bridges, making it accessible to non-technical users. Whether you're a developer or a project owner, VeraBridge simplifies the process of bridging tokens across multiple blockchains.
What You Will Achieve In This Guide
In this guide, you will:
- Deploy a Hyperlane Warp Route through VeraBridge.
- Bridge an ERC20 token by creating a synthetic version on the target chains.
- Bridge a token from Base Seoplia and back.
By the end of this guide, you will have successfully set up and managed a token bridge using VeraBridge, enabling efficient token transfer across your selected blockchain networks.
Prerequisites
Before starting, ensure the following:
- MetaMask Wallet: Have MetaMask installed and configured to interact with the networks you will be deploying to.
- ERC20 Tokens: Ensure you have an ERC20 token on the first chain where you plan to deploy. Additionally, you’ll need some native tokens to cover transaction fees. In this tutorial, we’ll use Base Sepolia, but you can choose any other supported network.
- Native Tokens on Other Chains: We recommend to have some native tokens on the additional chains you’ll be deploying to. This will allow you to test bridging your token back after deployment.
These requirements are necessary for testing the full token bridging flow after successfully deploying your bridge.
Steps
Connect Wallet
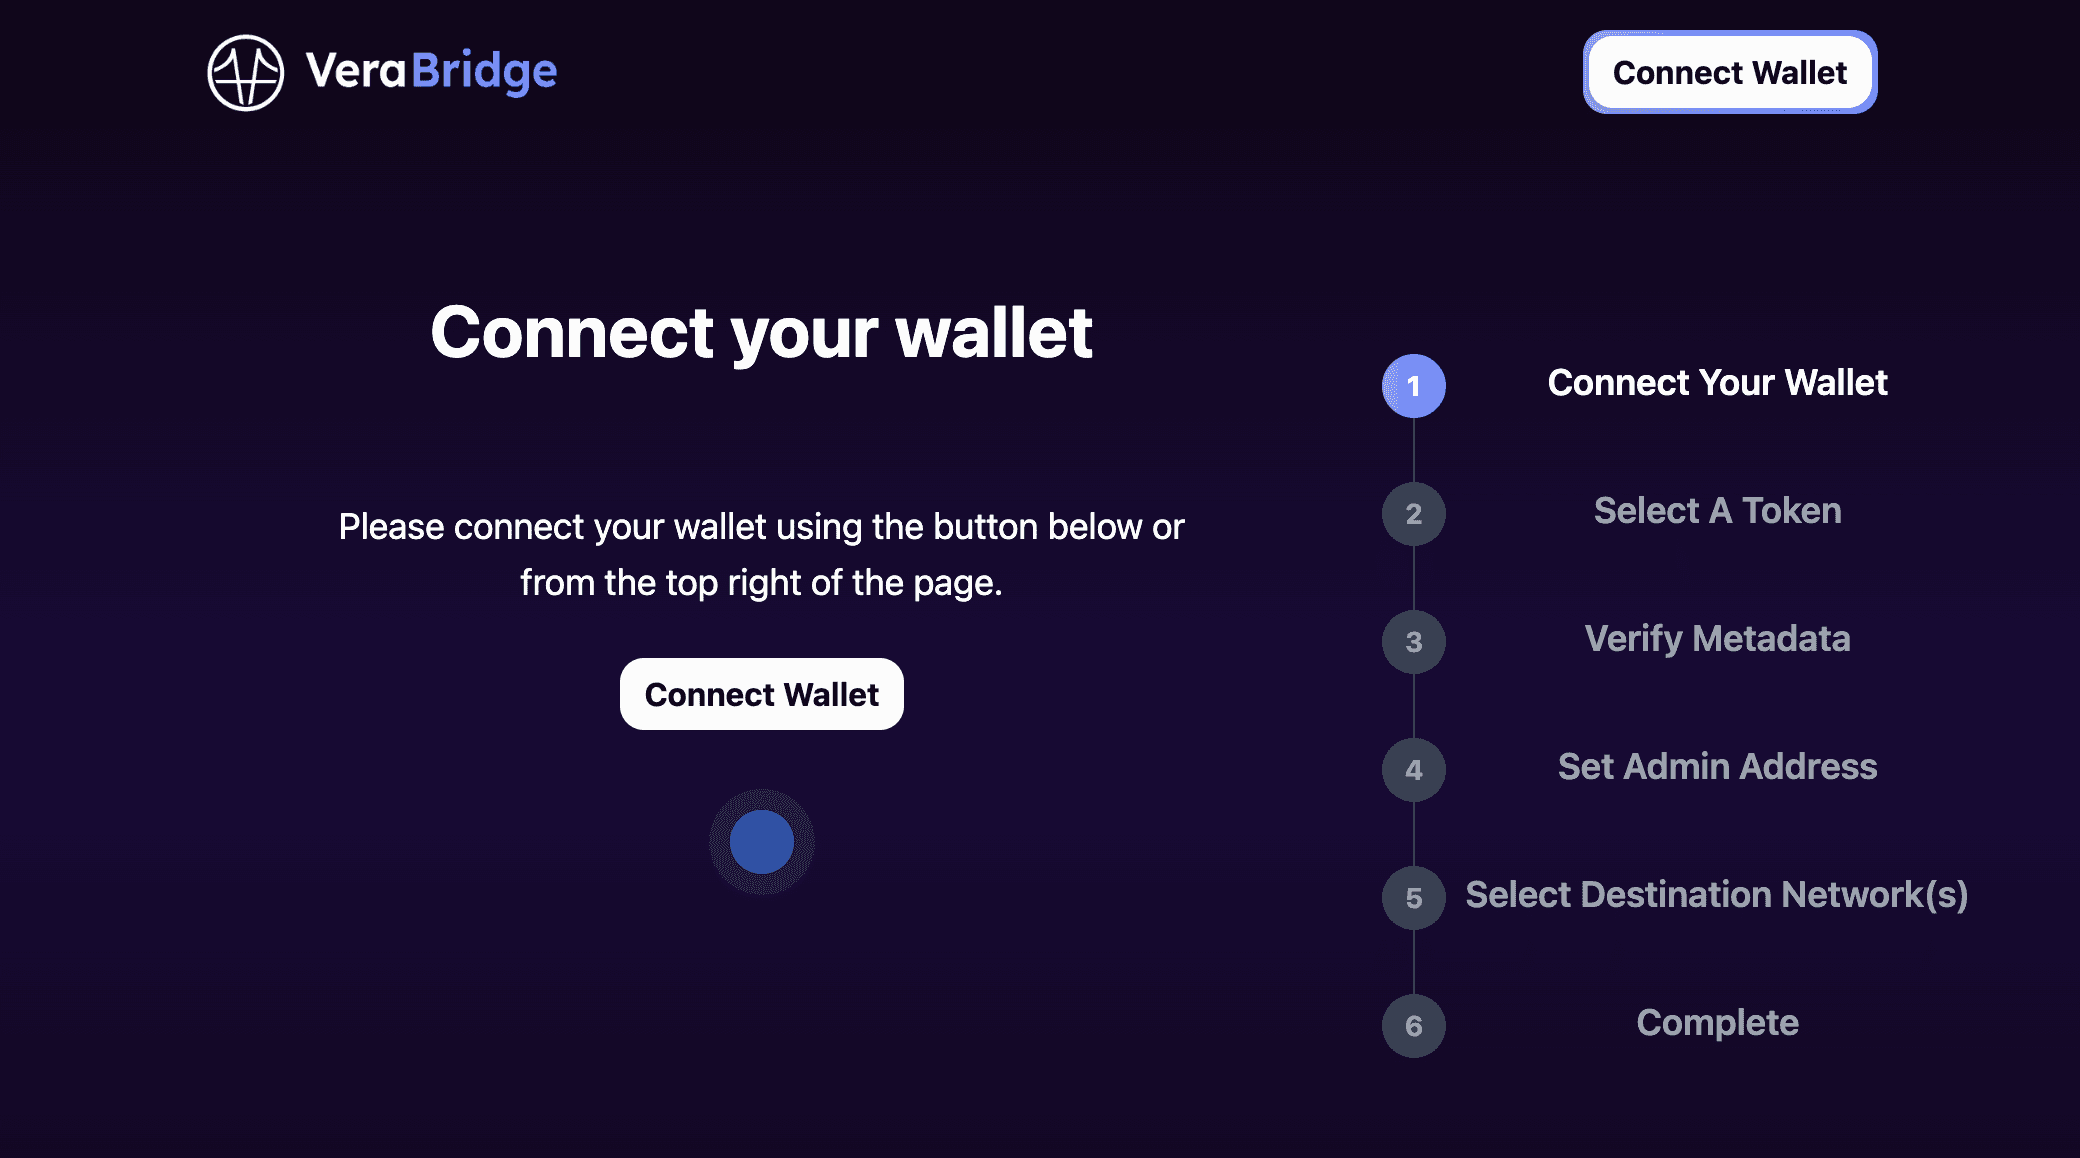
Go to VeraBridge (opens in a new tab) and connect your wallet. VeraBridge uses Owl Protocol's Smart Wallets under the hood to provide a seamless and secure experience. If you don't already have a wallet, VeraBridge will create one for you during the authentication process using Social Login.
To learn more about Owl Protocol's Smart Wallets and how they work, check out the Wallet Documentation.
Select the Token to Bridge
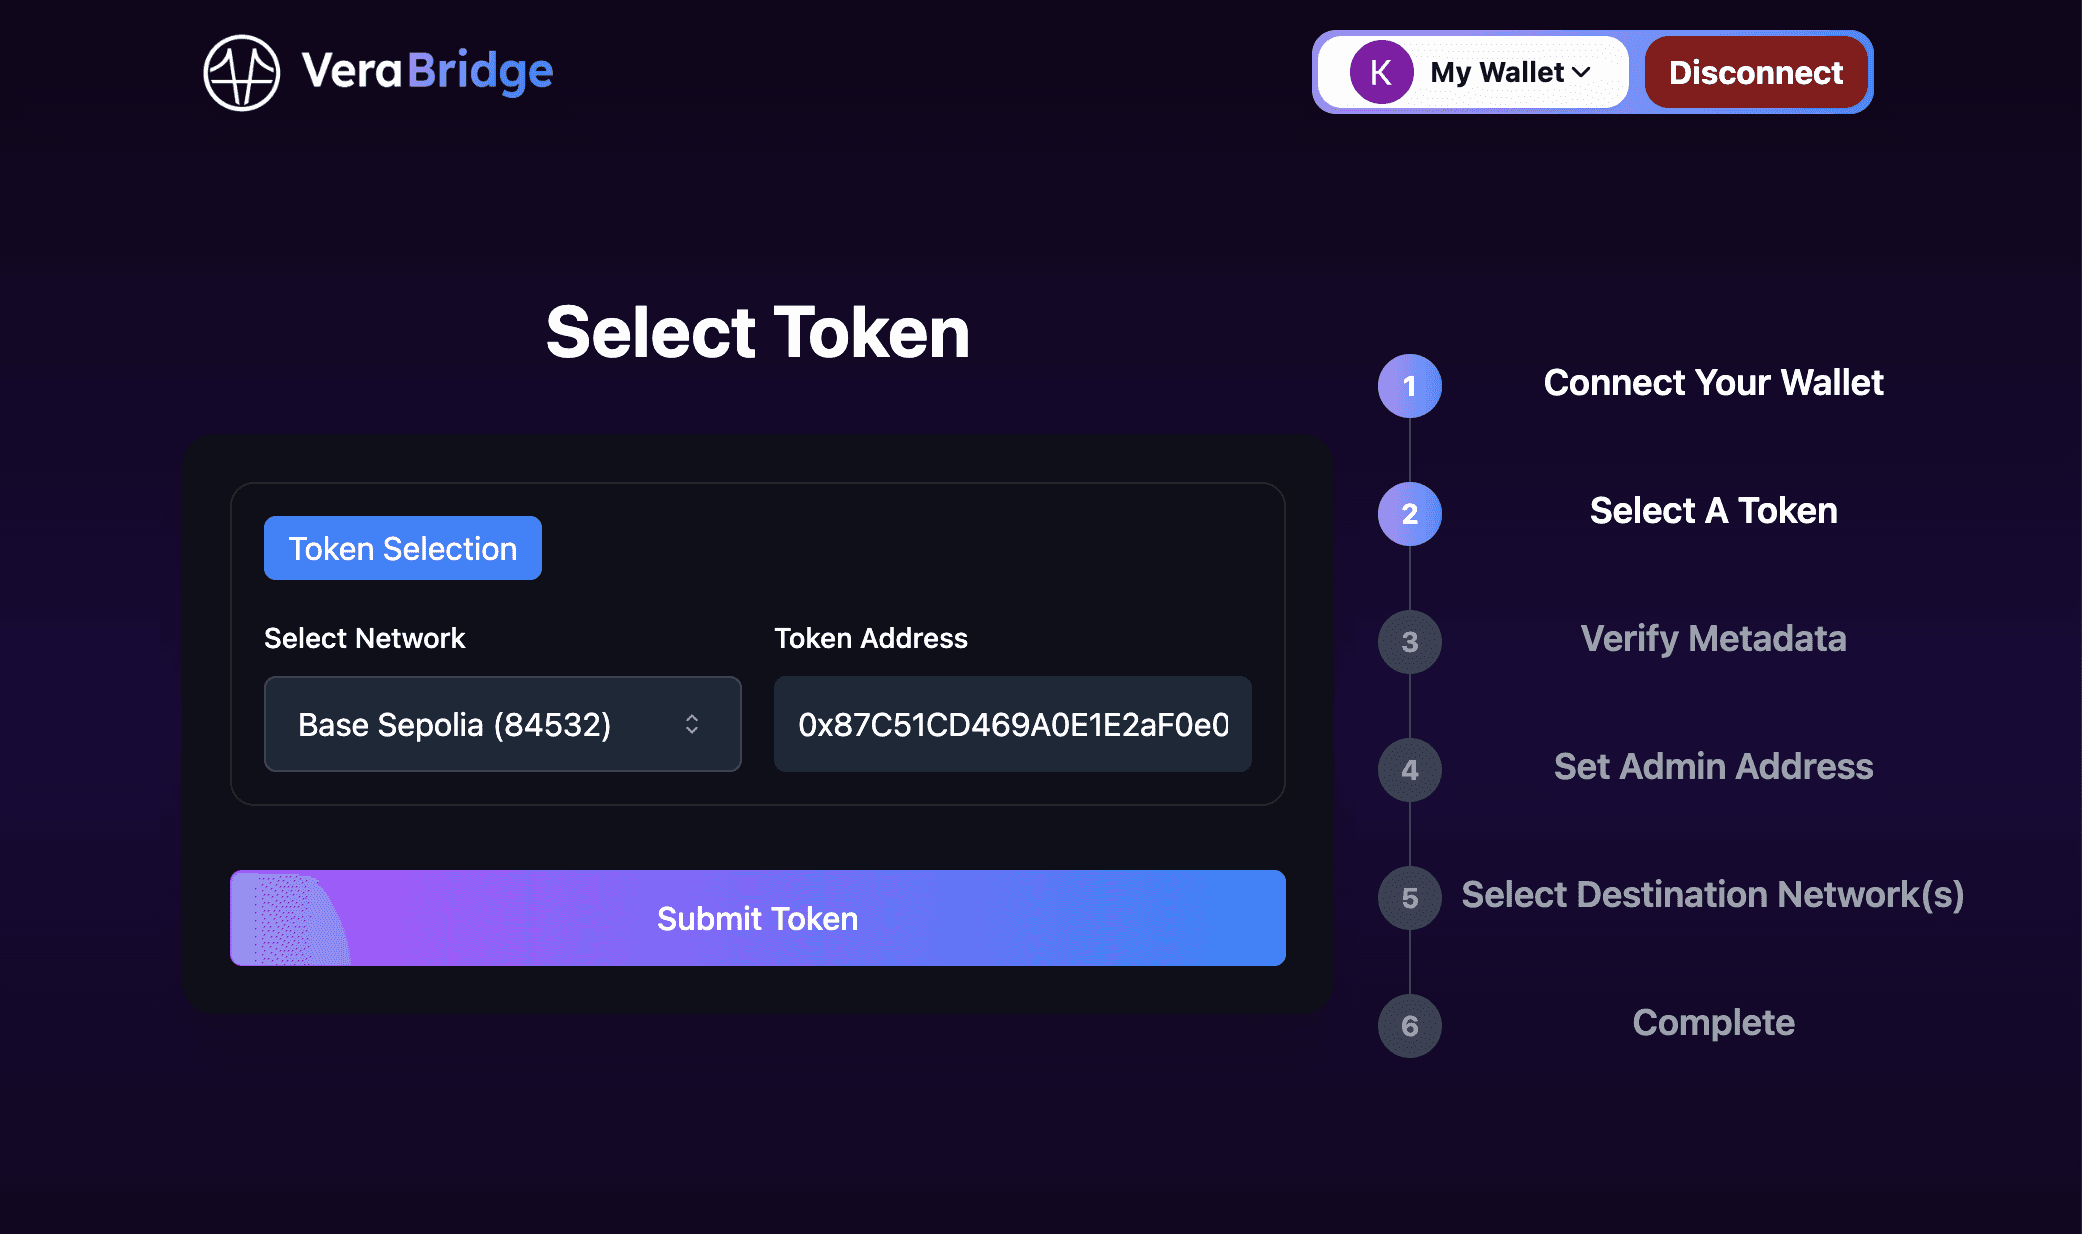
Choose the chain where your ERC20 token is deployed and specify its contract address. For this guide, we will use the Base Sepolia Tea Token (TEA) (opens in a new tab) as an example.
Currently, VeraBridge supports deploying bridges exclusively for ERC20 tokens. Also, note that you cannot bridge between mainnets and testnets.
Set the Metadata
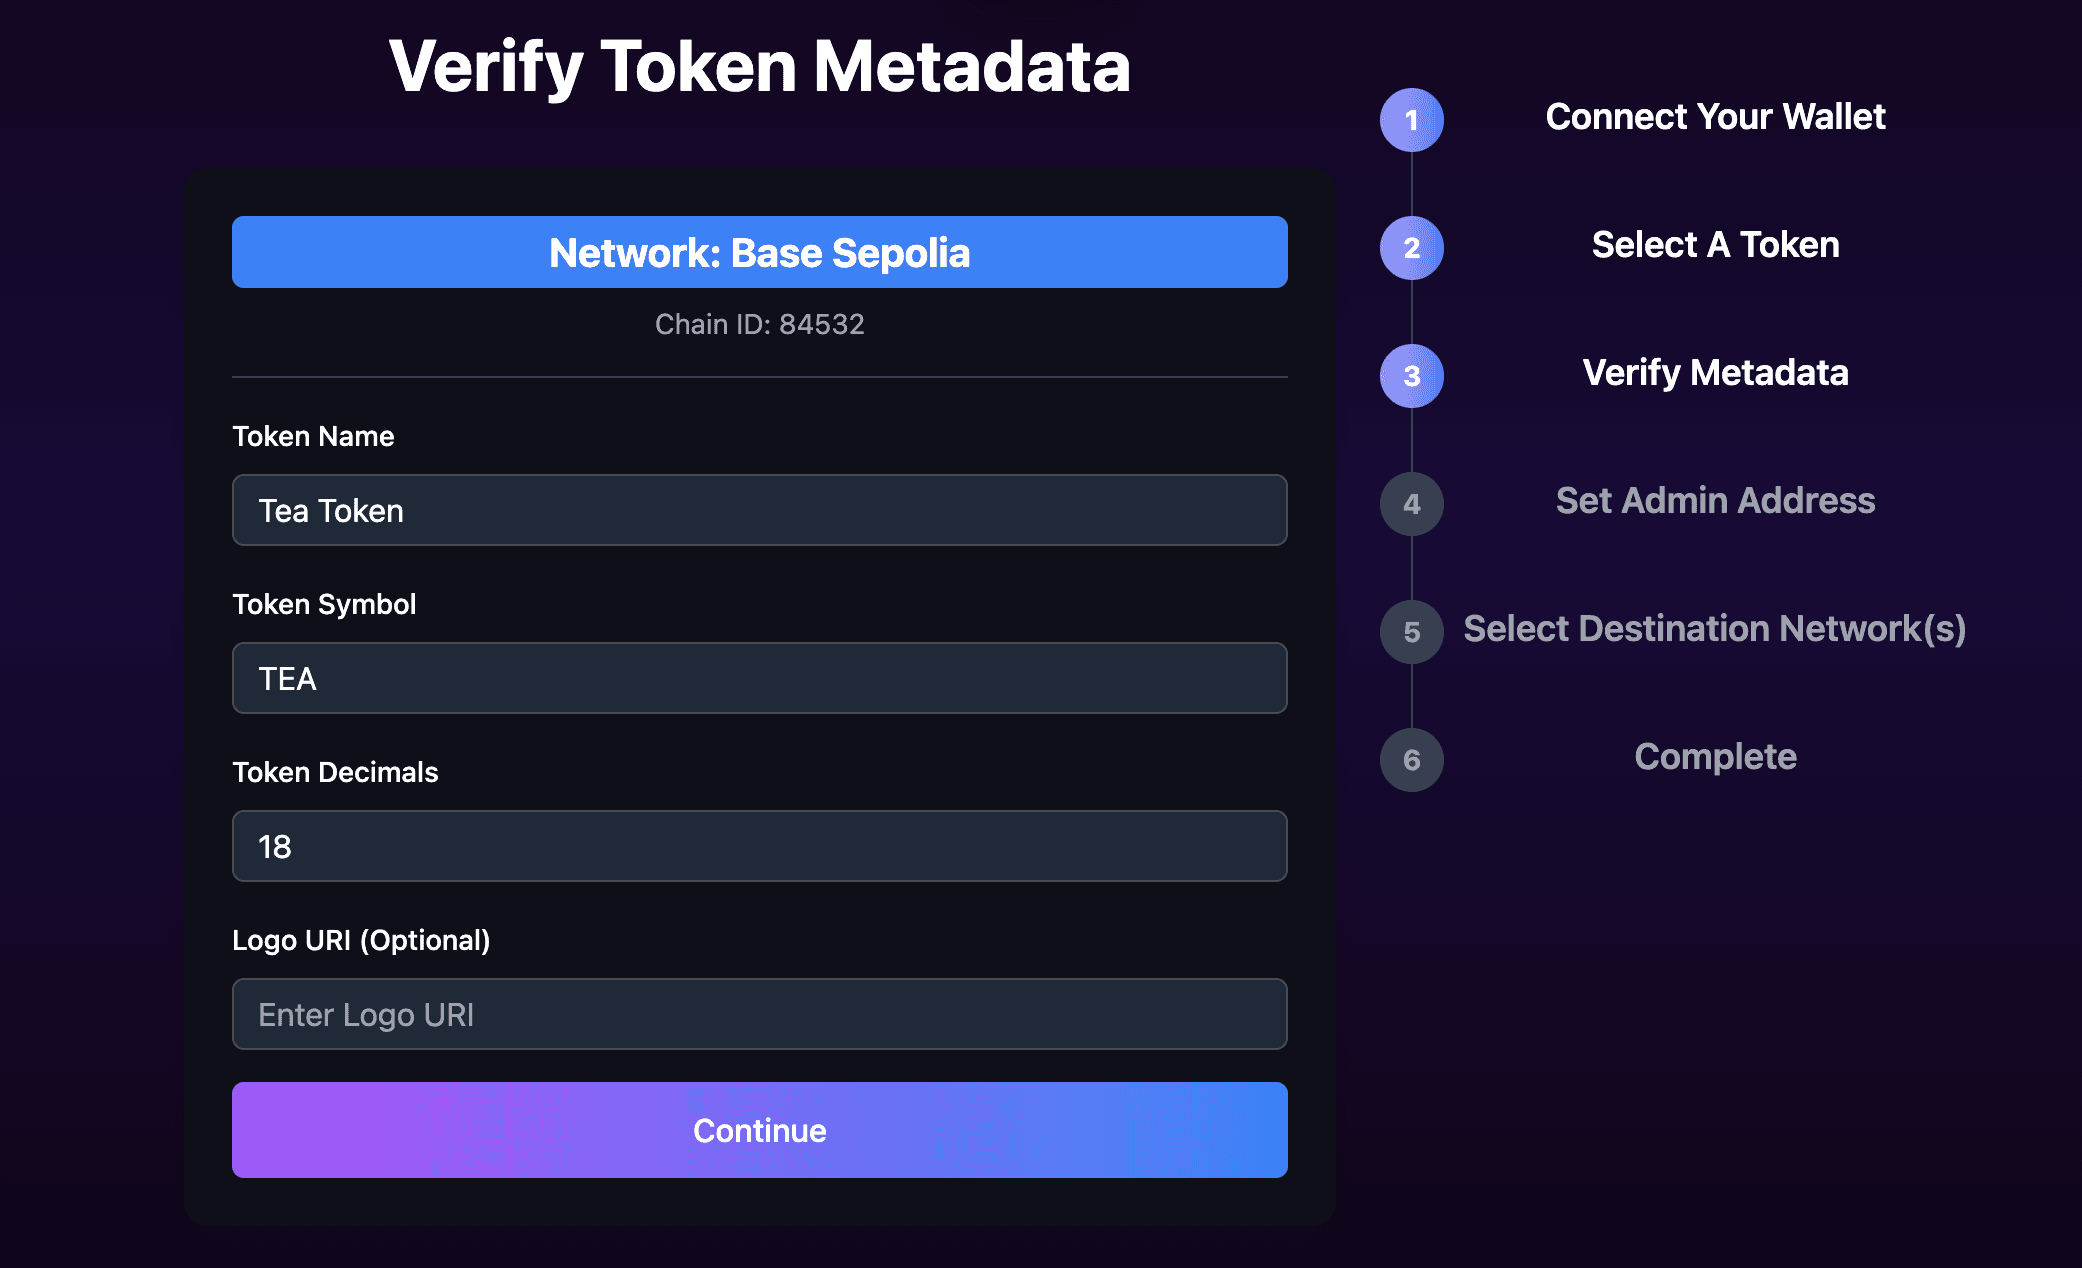
Once you have clicked on submit, its metadata will be automatically populated. If desired, you can customize the name and symbol of the synthetic token. For example, you might want to use a different name or symbol to distinguish the synthetic token from the original.
Set Admin Address
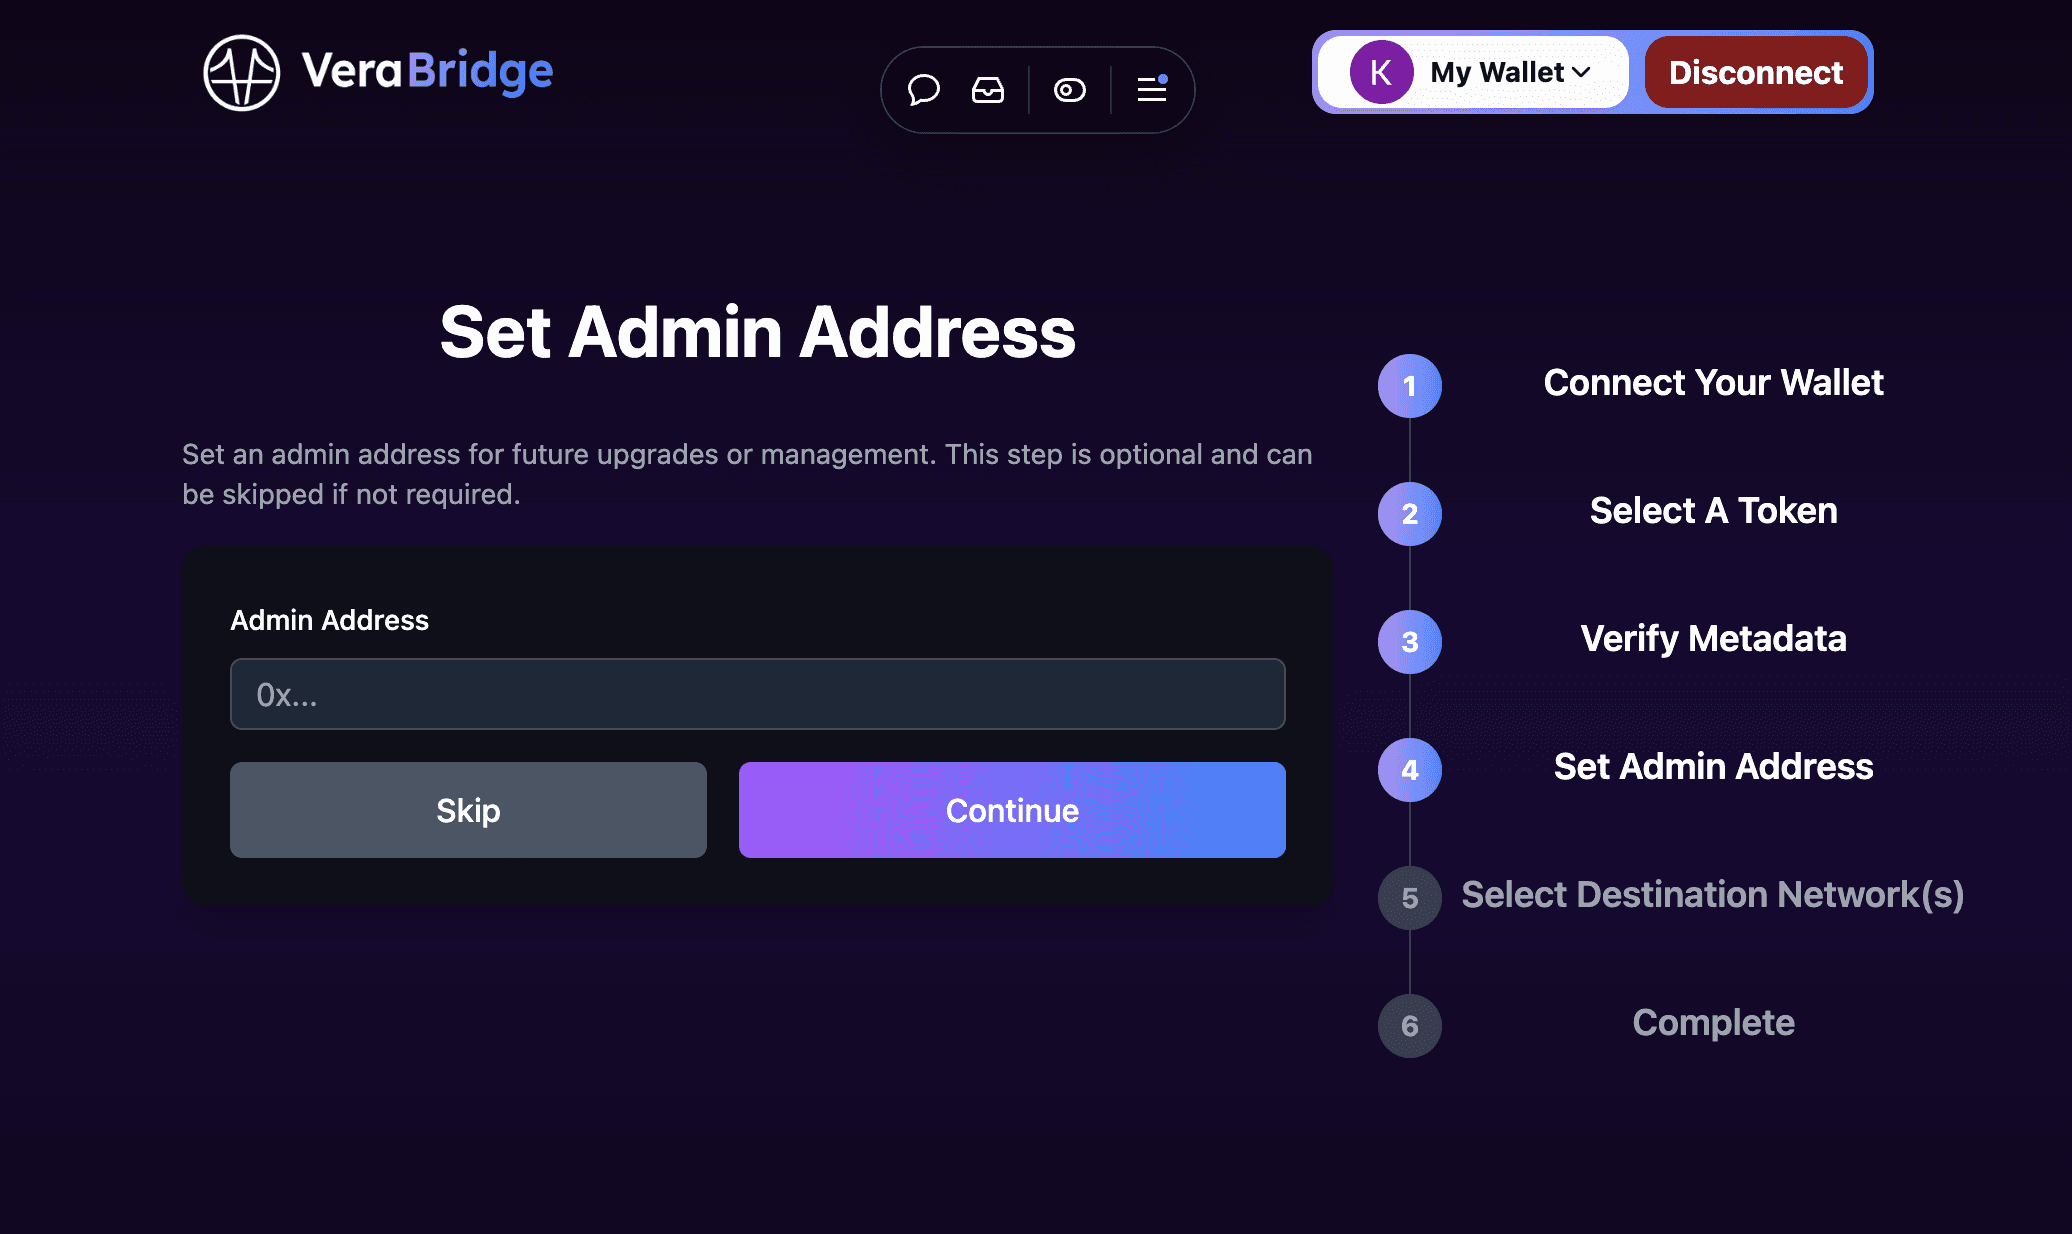
Choose the admin address, which will own the bridge. By default, this is your Owl smart wallet. To ensure you can make future updates, it's recommended to set an address you control, like your MetaMask (EOA) address. Leaving it blank assigns ownership to your Owl wallet.
Select Remote Chains
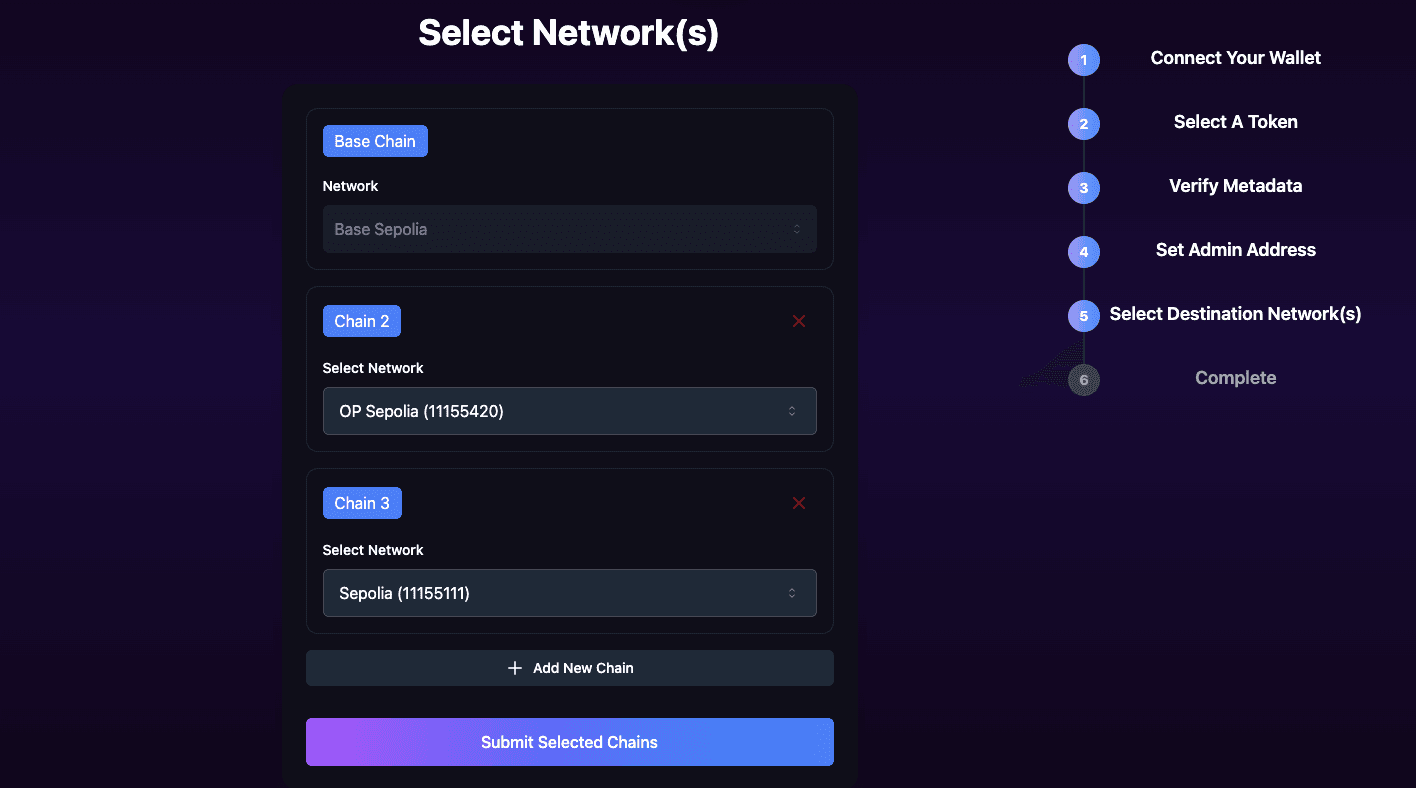
Choose the chains you want to bridge to. For this example, we will select "OP Sepolia (11155420)" and "Sepolia (11155111)". To add more chains, click "+ Add New Chain." Once you have made your selections, click "Submit Selected Chains" to proceed.
Confirmation
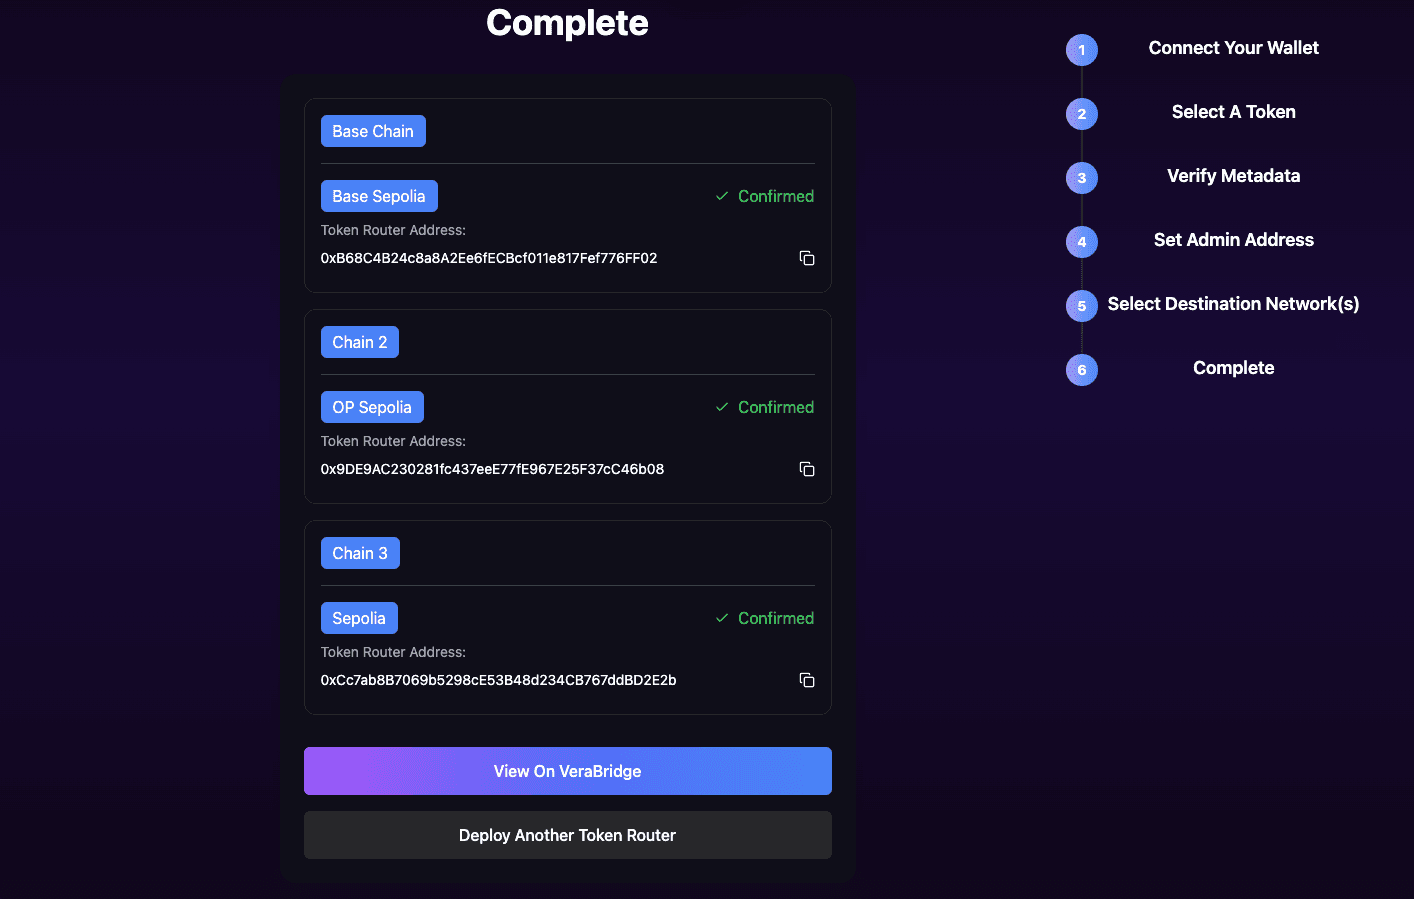
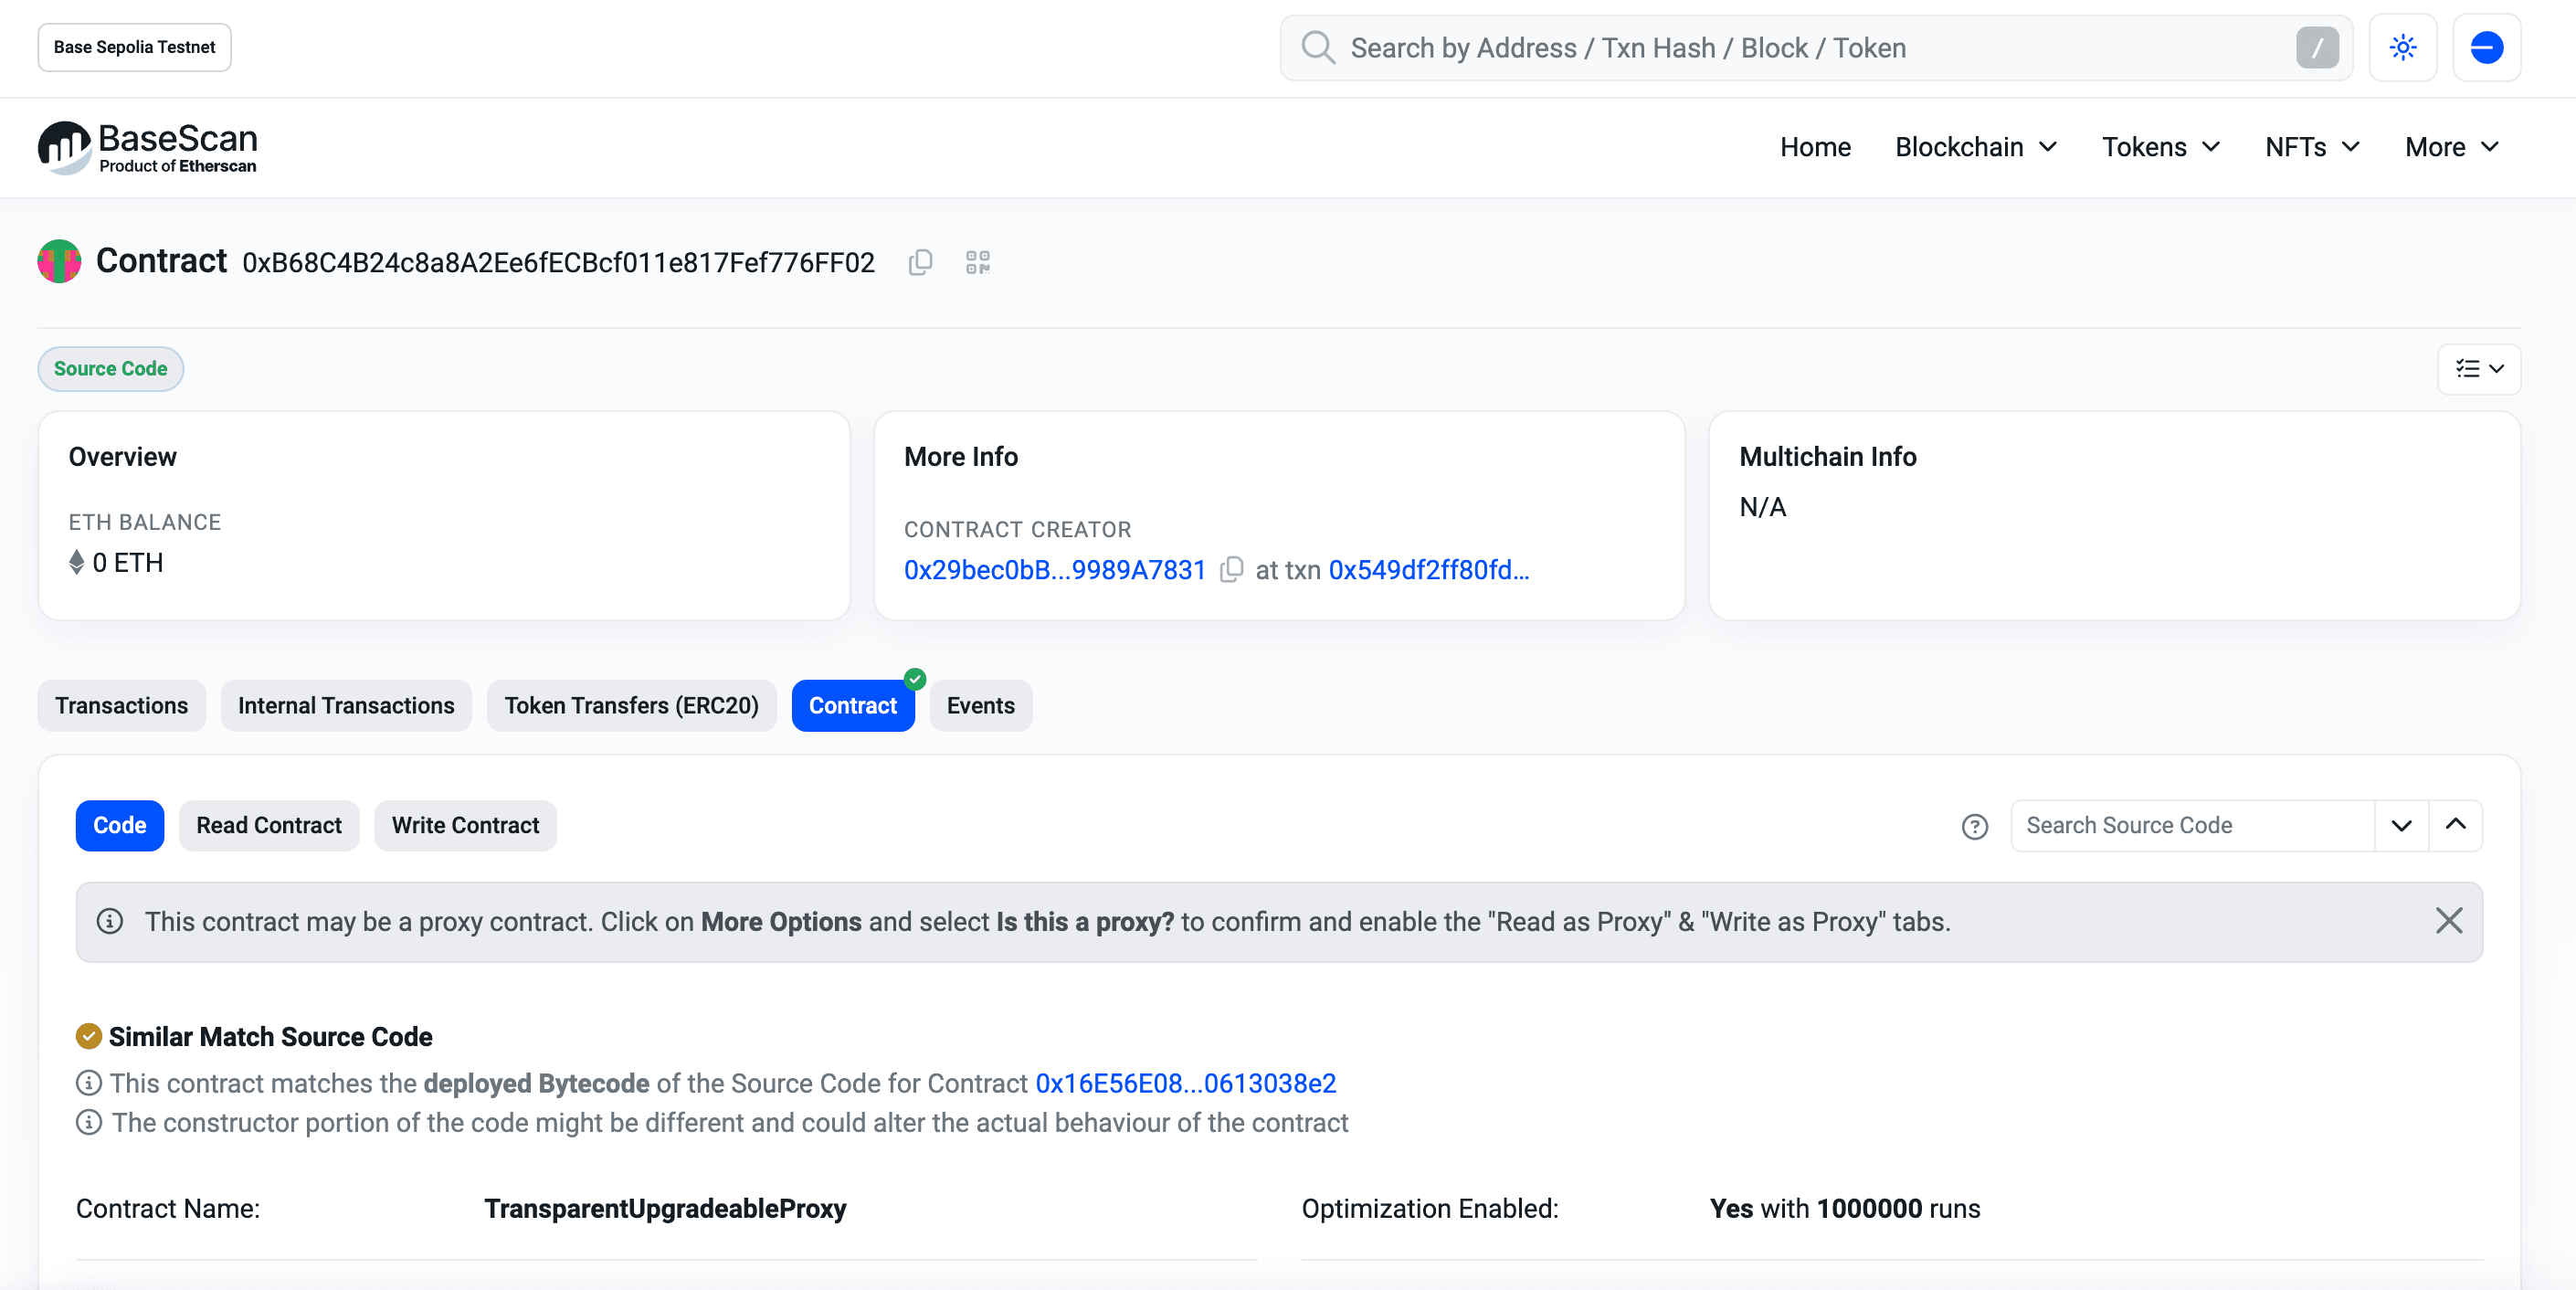
After selectcting the chains, you will see a confirmation message and the Token Router address of each chain. To learn more about the deployed contract, copy its address and paste it into the search bar of the relevant blockchain explorer. For example, here's the deployed contract on Base Sepolia (opens in a new tab).
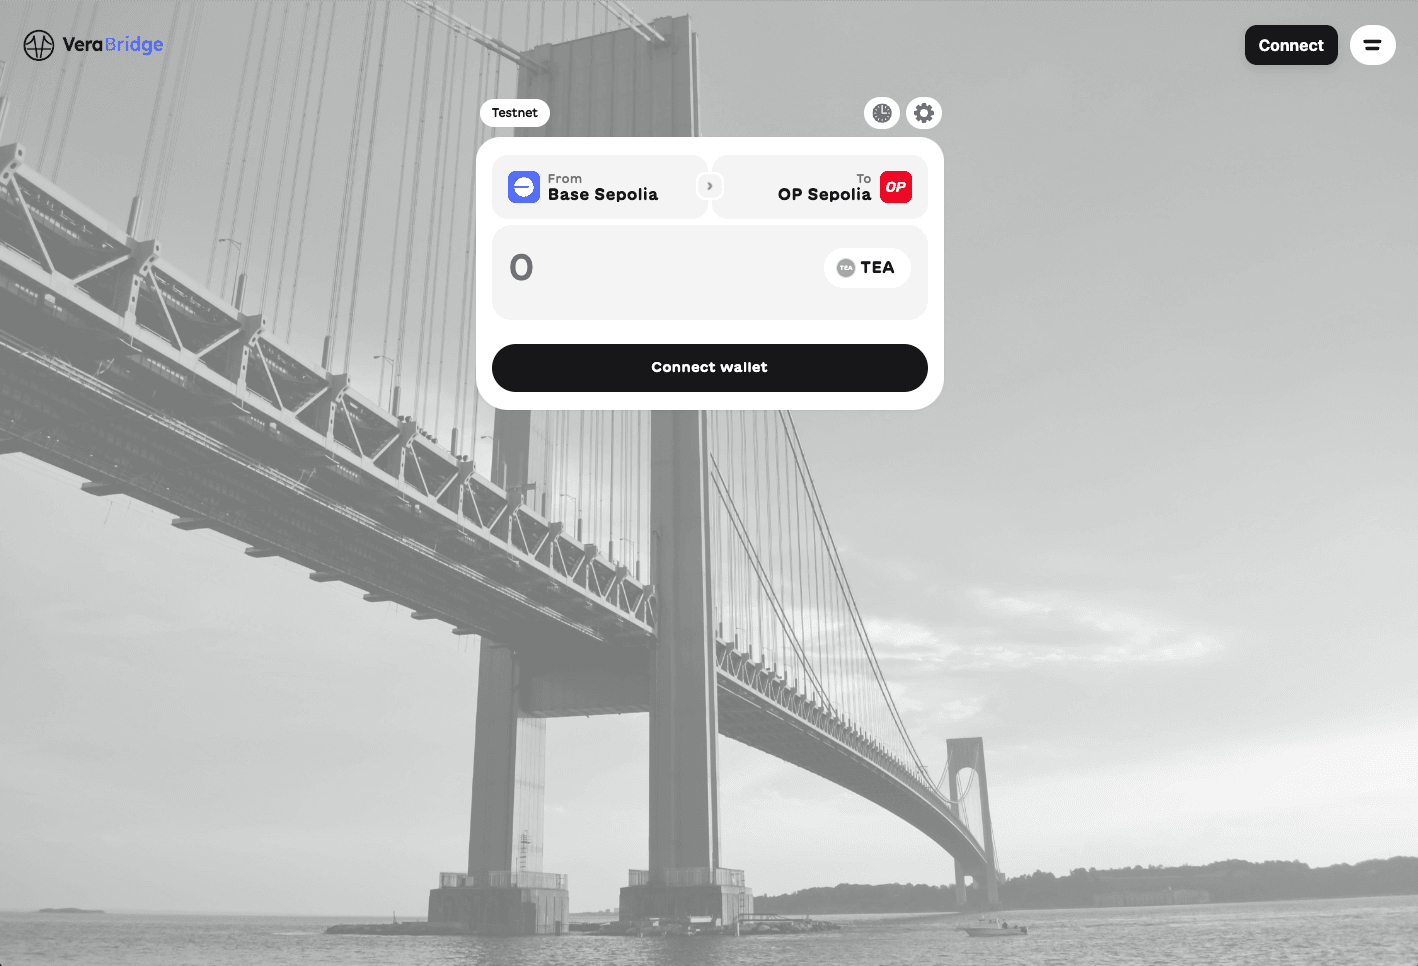
Go to the Bridge UI ("View on Verabridge"). Connect a wallet, and try to bridge your token. Once the token is on another chain, you can only bridge it back to the original chain.
Further Steps
- Try bridging back your synthetic token by switching the "from" and "to" chains in the bridge UI.
- Note: You will need native tokens on the second chain to pay for the transaction fees.
- Deploy to additional chains by clicking on "+ Add Token".
- Note: Clicking on "Deploy Token Router" deploy a new set of contracts each time. Decide which chains to support before deploying your bridge to avoid fragmenting your ERC20 token across multiple chains.