Quickstart
Get started with Owl Protocol in only one minute by a creating a digital asset and sending it to our CEO with just an email! This quickstart uses curl commands in the terminal to keep things simple. You can then move on to our other tutorials that use our SDKs.
Get Your API Key
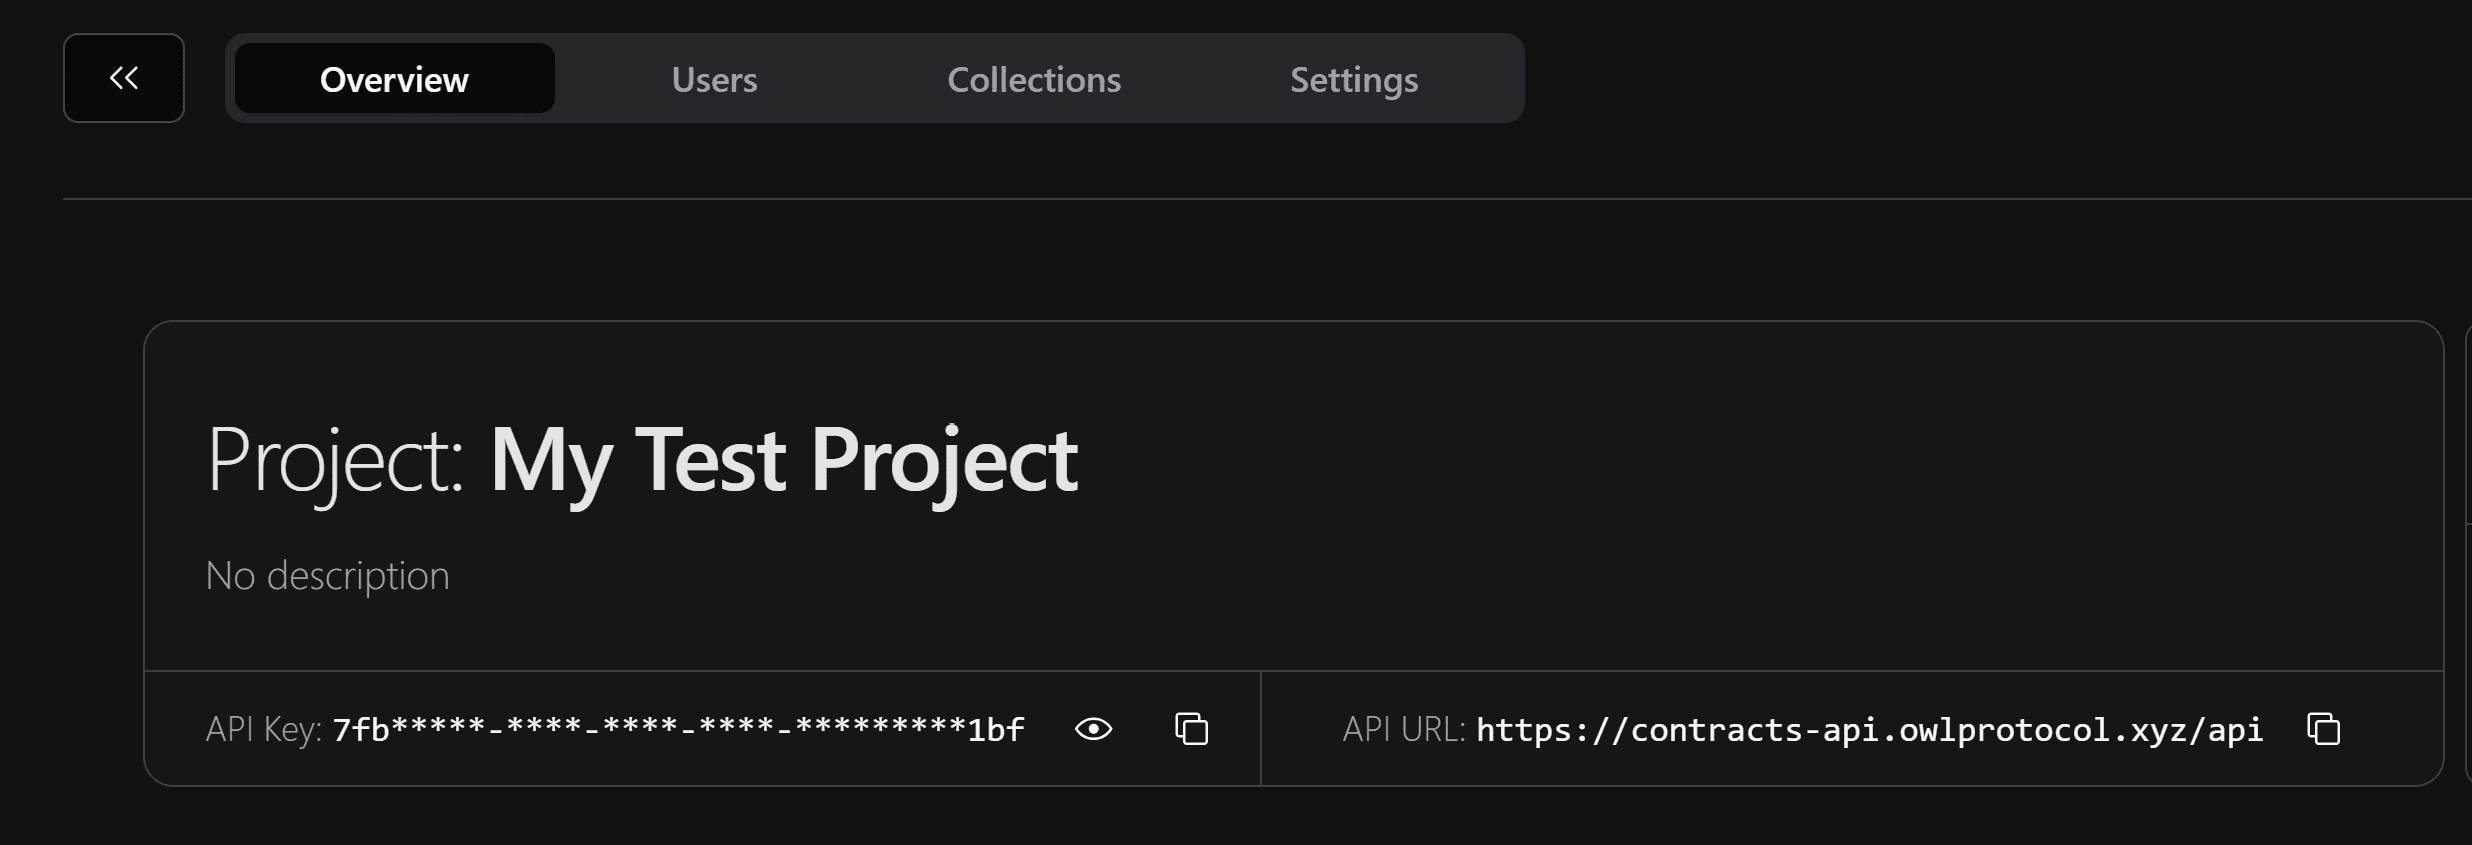
Go to owl.build (opens in a new tab) to get your API Key. If this is your first time signing up, you will automatically have a default team (My Team) and a default project (My Project).

You will run the next steps in your terminal. First, temporarily make your API key an environment variable to make it easier for the next couple commands. Run this in your terminal.
export API_KEY=xxxxxxxx-xxxx-xxxx-xxxx-xxxxxxxxxxxx # Replace HereAPI Key
Never expose your API Key in the frontend or client-side code.
Your API Key is crucial for authenticating your requests to Owl Protocol. Always keep it secure and use it only in server-side code to prevent unauthorized access and ensure the security of your project.
Launch A collection
Deploy a new ERC721 collection using the Owl Protocol API.
curl --request POST \
    --url https://api.owl.build/api/project/collection/deploy \
    --header 'accept: application/json' \
    --header 'content-type: application/json' \
    --header "x-api-key: $API_KEY" \
    --data '{ "chainId": 150150, "name": "My Collection", "symbol": "MYC" }'
You should see a response like this. Make sure to copy the contractAddress for the next step.
{
    "contractAddress": "0x687F4aFbDF5dC6DfeE92CE6580917e8cd27e3bd9",
    "userOpHash": "0xa4cec609adc748eb6af7940919f57b49d51d7709c2b66612f99374a1b4cda630",
    "contractUri": "https://api.owl.build/api/metadata-contract/150150/0x687F4aFbDF5dC6DfeE92CE6580917e8cd27e3bd9",
    "name": "My Collection",
    "symbol": "MYC",
    "baseUri": "https://api.owl.build/api/metadata-token/150150/0x687F4aFbDF5dC6DfeE92CE6580917e8cd27e3bd9/",
    "royaltyReceiver": "0x06A5B18BE656327463404a83955D3964e3becCbc",
    "feeNumerator": "500",
    "deployParams": {
        "salt": "0xd984e1473498b33cfb7f5097d764d8511f03e8faa359680032a2bf37c88a1588"
    }
}
Copy the contractAddress and export it for future use.
export ADDRESS=0x0000000000000000000000000000000000000000 # Replace hereMint A Digital Asset To A User
You will now mint a digitial asset to a user. Provide the collection address, recipient's email, and optional asset metadata (such as name, description, and image).
curl --request POST \
    --url https://api.owl.build/api/project/collection/150150/$ADDRESS/mint-batch/erc721AutoId \
    --header 'accept: application/json' \
    --header 'content-type: application/json' \
    --header "x-api-key: $API_KEY" \
    --data '{ "to": ["leo@owlprotocol.xyz"], "metadata": {"name": "NFT #1", "description": "This was so easy!", "image": "https://picsum.photos/200" } }'
You should a response like this:
{
    "metadata": {
        "name": "NFT #1",
        "description": "This was so easy!",
        "image": "https://picsum.photos/200"
    },
    "userOpHash": "0x9cfb50d991af323e8a085a1b837a0be75971bb445e0a9738c0188a68805e45d9",
    "tokens": [
        { "to": "0x6D9882BA693eaF28dcBD23f8629DAD98eE140BE9", "tokenId": "1" }
    ]
}
You can also view the NFT you deployed on the block explorer. Note that indexing metadata might take a while but you should quickly see that an ERC721 digital asset was created on the blockchain.
echo "View NFT at https://explorer-testnet.hedwig.build/token/$ADDRESS"Next Steps
Congratulations on launching your first digital asset collection!
Check out these tutorials to learn how to use different tools such as our tRPC client SDK or our no-code Zapier App.